
سبتمبر . 25, 2024 17:50 Back to list
replacing weather stripping on door bottom
Replacing Weather Stripping on Door Bottom A Step-by-Step Guide
Weather stripping is an important feature in any home, especially for external doors. It provides insulation and helps to prevent drafts, moisture, and pests from entering your living spaces. Over time, weather stripping can wear out due to exposure to the elements, resulting in decreased energy efficiency and increased utility bills. One of the most common areas where weather stripping needs replacement is at the bottom of doors. In this article, we will guide you through the process of replacing weather stripping on the bottom of a door, ensuring your home stays comfortable and energy-efficient.
Understanding Weather Stripping
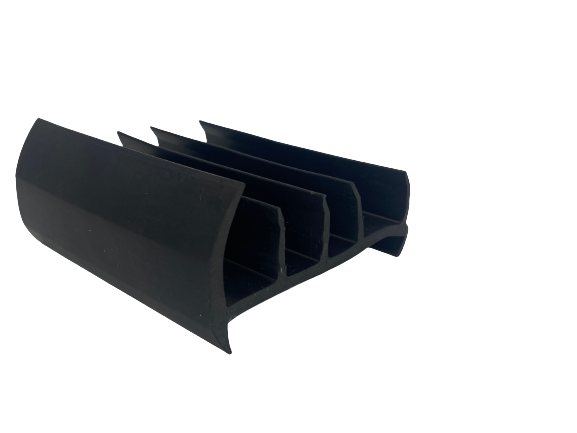
Before diving into the replacement process, it’s important to understand what weather stripping is and its role. Weather stripping is typically made from materials such as foam, rubber, or vinyl, and is used to seal gaps between the door and the doorframe or floor. When properly installed, it prevents air leaks, saving energy and keeping your home’s temperature stable.
Tools and Materials Needed
To successfully replace the weather stripping at the bottom of your door, you will need the following tools and materials
- New weather stripping (ensure it is the right size and type for your door) - Utility knife or scissors - Measuring tape - Straightedge or ruler - Adhesive backing (if applicable) - Clean cloth or sponge - Cleaning solution (for removing old adhesive, if necessary)
Step-by-Step Replacement Process
Step 1 Remove the Old Weather Stripping
Start by examining the door bottom to identify the existing weather stripping. Use a utility knife to carefully cut away the old weather stripping. Be cautious not to damage the door or the frame while doing this. Once cut, pull the old stripping off, ensuring that all remnants, including adhesive, are removed. A clean surface is essential for the new weather stripping to adhere effectively.
replacing weather stripping on door bottom
Step 2 Clean the Area
Once the old weather stripping is removed, clean the door bottom thoroughly. You can use a damp cloth or sponge with a mild cleaning solution to ensure that there is no dust, grease, or leftover adhesive. Allow the area to dry completely before proceeding to the next step.
Step 3 Measure and Cut the New Weather Stripping
Measure the length of the door bottom where the weather stripping will be placed. Many weather stripping products come in standard lengths, but it’s essential to measure your specific door to ensure a proper fit. Using a straightedge, mark the cutting line on the new weather stripping, and then use your utility knife or scissors to cut it to the appropriate length.
Step 4 Install the New Weather Stripping
If your new weather stripping has an adhesive backing, simply peel off the protective layer and carefully press it into place along the bottom of the door. Make sure it is aligned correctly and adheres firmly. If the weather stripping does not have adhesive, look for a type that fits securely in place, or consider using an adhesive to ensure a strong bond.
Step 5 Test the Seal
After the new weather stripping is installed, close the door and check for any gaps. The door should close easily without excessive force but should also create a snug seal against the weather stripping. If you notice gaps, you may need to readjust or replace the weather stripping until you achieve the desired fit.
Conclusion
Replacing the weather stripping at the bottom of your door is a straightforward task that can significantly enhance your home’s energy efficiency and comfort. By following these simple steps, you can ensure that your home remains draft-free, reducing energy costs while maintaining a pleasant indoor environment. Regular maintenance and timely replacement of weather stripping can also prolong the life of your doors and improve their functionality. So grab your tools and get started on this home improvement project today!


