Ліст . 13, 2024 18:05 Back to list
installing bottom door seal
Installing a Bottom Door Seal A Step-by-Step Guide
Installing a bottom door seal is a straightforward yet essential home improvement task that can significantly enhance your home’s energy efficiency and comfort. A bottom door seal prevents drafts, moisture, dust, and insects from entering your living space, making it a key element in maintaining a comfortable indoor environment. Here’s a step-by-step guide to help you install one effectively.
Materials Needed
Before you begin the installation, gather the necessary materials - A bottom door seal kit (available at most hardware stores) - A measuring tape - A utility knife or scissors - A screwdriver or drill - A pencil
Step 1 Measure the Door
Start by measuring the width of your door. Use a measuring tape to determine the exact width from one side to the other and note this measurement down. This will ensure you purchase or cut the right length of seal for your door.
Step 2 Choose the Right Seal
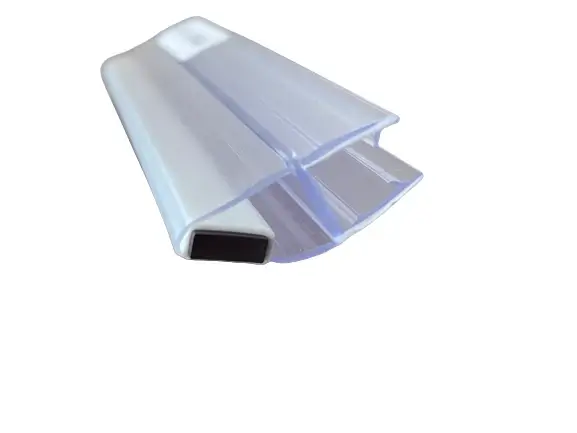
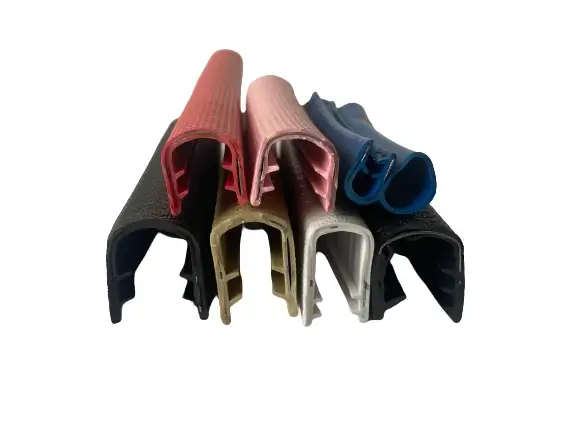
Bottom door seals come in various types, including rubber, vinyl, and brush seals. Choose a seal that fits your door type and installation preferences. Some seals are adhesive-backed, while others require more permanent installation methods.
Step 3 Prepare the Door
installing bottom door seal

Clean the bottom edge of the door thoroughly. Remove any old seals or weather stripping that may be present. This will help the new seal adhere better and ensure a tight fit.
Step 4 Cut the Seal to Length
If your seal came in a longer strip, measure it against the width of the door and mark where it needs to be cut. Use a utility knife or scissors to cut the seal to the appropriate length.
Step 5 Install the Seal
Depending on the type of seal you have, the installation process may vary. If it’s adhesive-backed, peel off the backing and press it firmly onto the bottom of the door, ensuring it aligns perfectly with the edges. For other types, you may need to secure it using screws or nails, so pre-drill holes if necessary and attach it with a screwdriver or drill.
Step 6 Test the Seal
Once installed, close the door and check to ensure that the seal is making good contact with the floor. It should create a tight barrier without hindering the door's functionality. Adjust as needed.
Conclusion
Installing a bottom door seal is a simple yet effective way to improve your home’s efficiency and comfort. By following these steps, you can easily reduce drafts, save on energy bills, and protect your home from unwanted elements. Whether it’s a DIY project or a simple upgrade, a well-installed door seal makes a significant difference.


