Ліст . 23, 2024 15:37 Back to list
weather stripping for the bottom of doors
Weather Stripping for the Bottom of Doors A Practical Guide
Weather stripping is an essential element in home maintenance, particularly for the bottom of doors, where gaps can lead to considerable energy loss, uncomfortable drafts, and increased utility bills. Whether you're looking to keep your home cozy in winter or cool in summer, properly sealing the doors is a crucial step in improving energy efficiency.
Understanding Weather Stripping
Weather stripping comes in various materials and types, designed to create a seal that prevents air, moisture, dust, and pests from entering your home. At the bottom of doors, this seal is vital because this area is often subject to wear and tear due to foot traffic. Over time, the gap can widen, making it an easy entry point for outdoor elements.
Choosing the Right Material
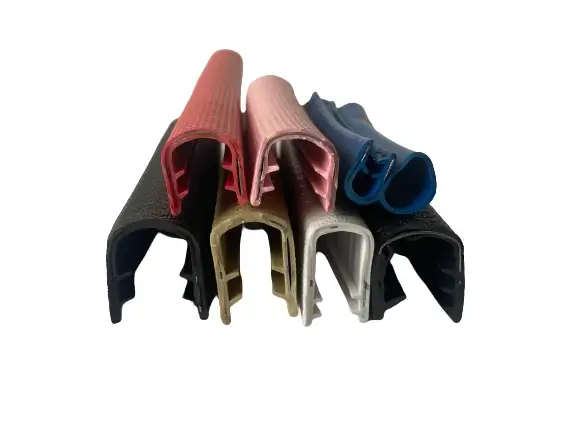
When selecting weather stripping for the bottom of doors, there are several materials to consider
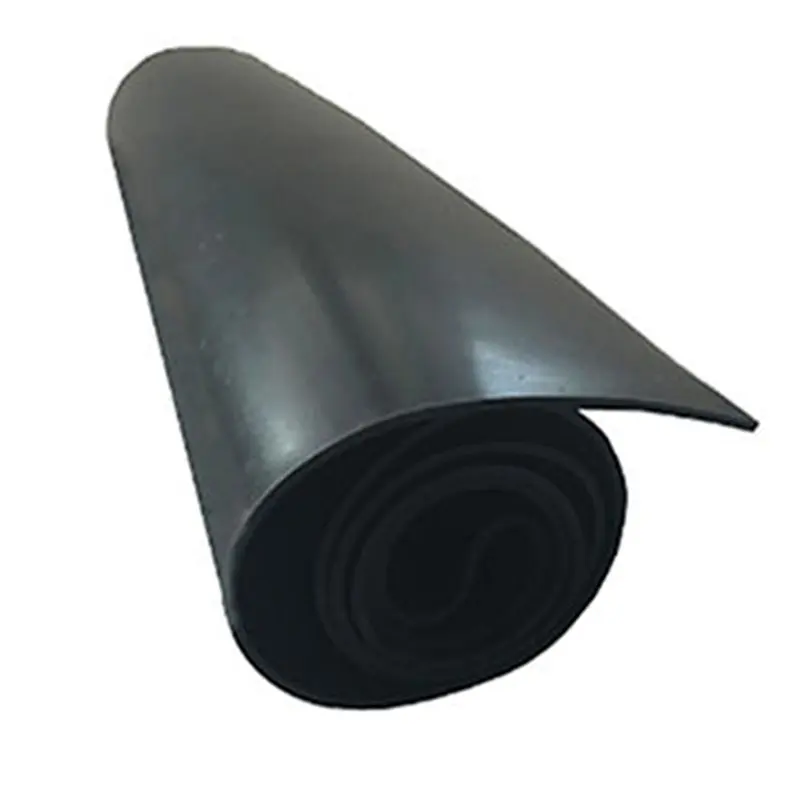
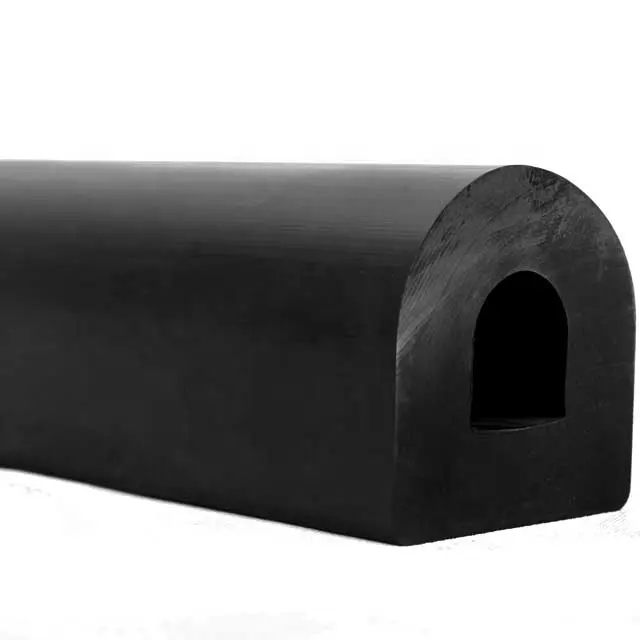
1. Rubber Durable and flexible, rubber weather stripping can withstand harsh weather conditions and is excellent for exterior doors.
2. Vinyl Vinyl is a cost-effective option that provides good insulation. It is often used in interior doors but can also be effective for exterior applications.
3. Foam Foam weather stripping is soft and compressible, making it excellent for irregular gaps. However, it may not last as long as rubber or vinyl.
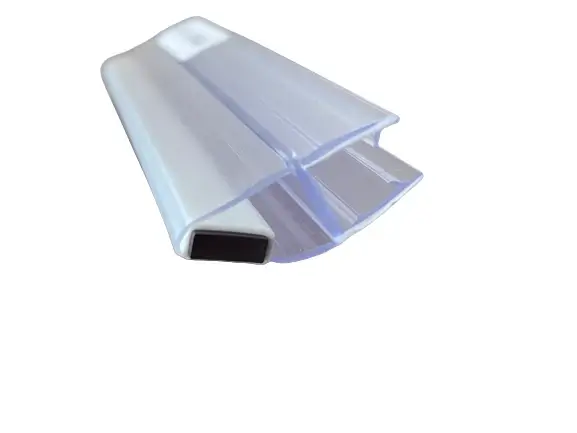
4. Metal Metal strips, like aluminum, are incredibly durable and often used in heavy-duty applications. They can be combined with rubber or foam for enhanced sealing.
weather stripping for the bottom of doors

Installation Process
Installing weather stripping at the bottom of doors is a straightforward DIY project. Here’s a step-by-step guide
1. Measure the Door Start by measuring the width of the door to determine how much weather stripping you'll need.
2. Select the Weather Stripping Based on your door's material and location, choose the most fitting weather stripping option.
3. Prepare the Surface Clean the bottom of the door to ensure good adhesion, removing any dirt or old weather stripping remnants.
4. Cut to Length Cut the weather stripping to the appropriate length, making sure to account for corners or other obstacles.
5. Attach the Weather Stripping Peel off the adhesive backing (if using self-adhesive weather stripping) and firmly press it into place. For other types, you may need screws or nails.
6. Check the Seal Once installed, close the door and check for any drafts. Adjust the weather stripping if necessary to ensure a snug fit.
Conclusion
Weather stripping for the bottom of doors is a crucial investment in your home’s energy efficiency and comfort. By selecting the right materials and following proper installation techniques, you can effectively reduce energy costs and enhance your living environment. Regular maintenance of weather stripping will ensure it continues to perform effectively, providing you with both comfort and savings in the long run. Remember, a well-sealed home is a happy home!


