অক্টো. . 05, 2024 19:02 Back to list
How to Properly Install Weather Stripping for Your Garage Door
Installing Garage Door Weather Stripping A Step-by-Step Guide
Weather stripping is an essential part of maintaining an efficient and comfortable garage. It helps to keep out drafts, dirt, and moisture, ensuring that your garage remains clean and warm during the colder months. Installing weather stripping around your garage door is a straightforward project that can be accomplished in just a few hours. Here’s how to do it.
Materials Needed
Before you begin, gather the necessary materials
- Weather stripping (available at most home improvement stores) - Measuring tape - Utility knife or scissors - Clean cloth - Adhesive cleaner or rubbing alcohol - Pencil or marker
Step 1 Measure Your Garage Door
The first step in installing weather stripping is to accurately measure your garage door. Use the measuring tape to determine the width and height of the door, noting these measurements down. If you have a two-car garage, measure each door separately.
Step 2 Choose the Right Weather Stripping
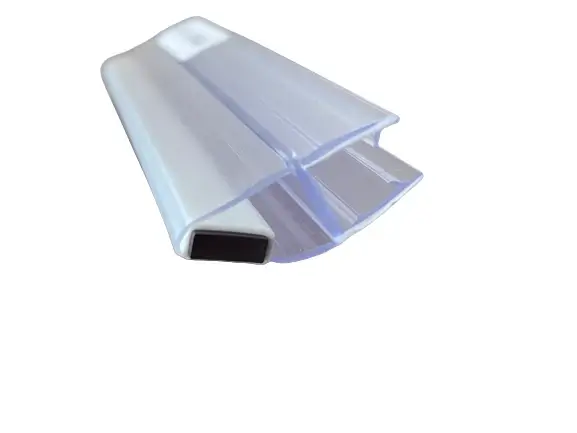
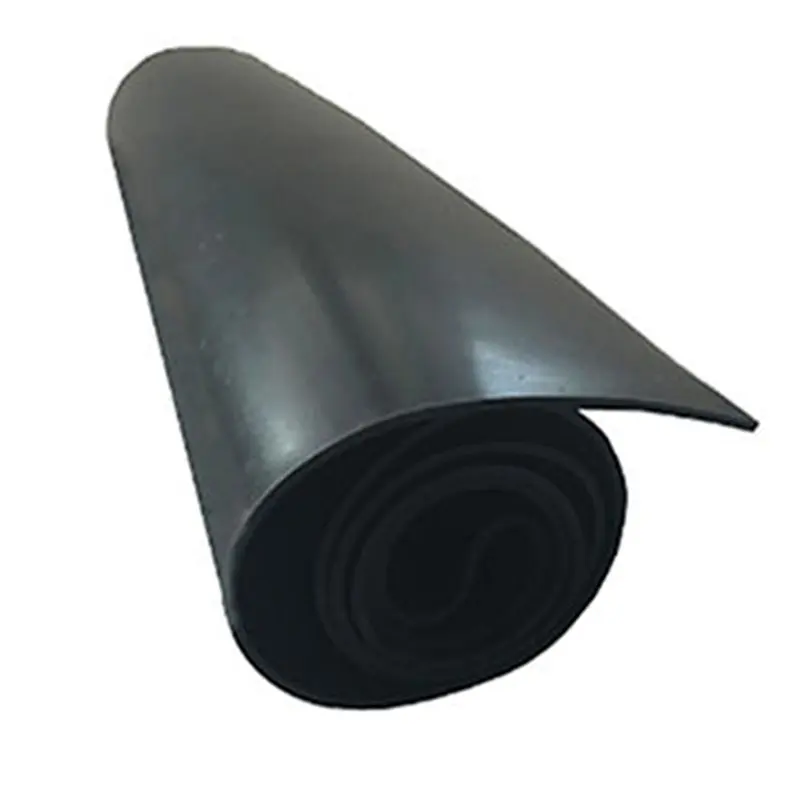
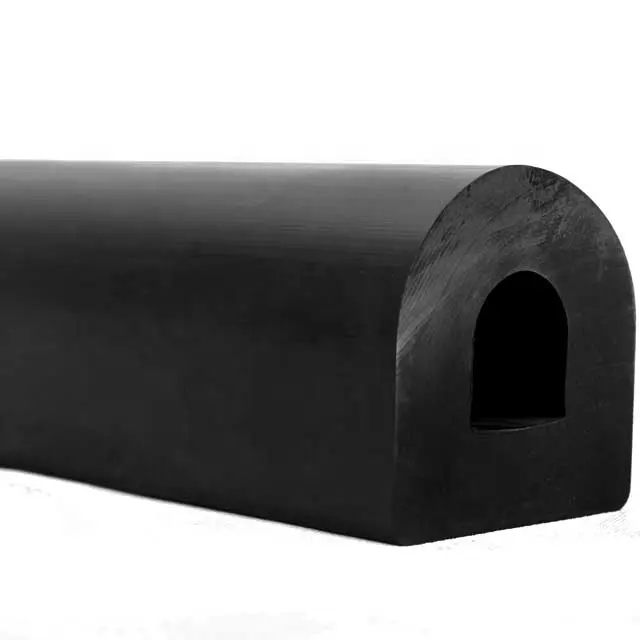
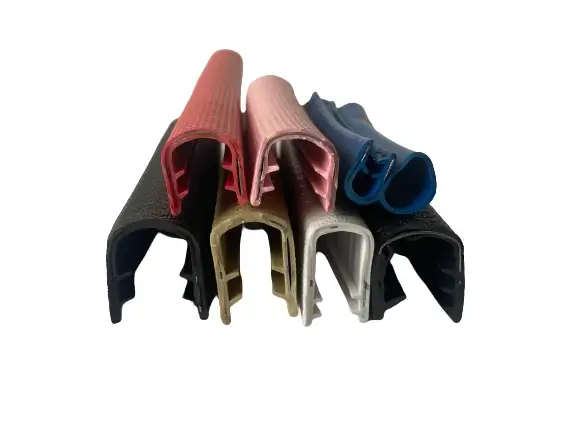
There are several types of weather stripping available, including V-strip, foam tape, and rubber seals. Choose the type that best suits your garage door's needs. Rubber seals are durable and effective for sealing gaps, while foam tape is easier to install and provides good insulation for smaller gaps.
Step 3 Clean the Surface
installing garage door weather stripping
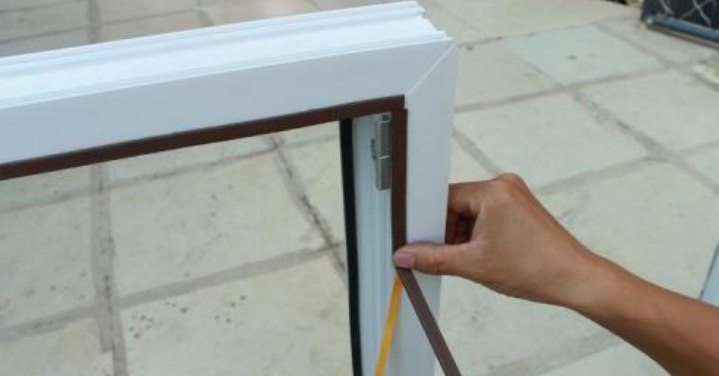
Before applying the weather stripping, it’s crucial to clean the surface of the garage door and the surrounding frame. Use a clean cloth and an adhesive cleaner or rubbing alcohol to remove any dust, dirt, or old adhesive residues. This will ensure that the weather stripping adheres properly.
Step 4 Cut the Weather Stripping
Once you have your measurements and the correct type of weather stripping, it’s time to cut it to size. Use the utility knife or scissors to cut the strips according to your measurements, ensuring they fit snugly around the edges of the garage door.
Step 5 Install the Weather Stripping
Start by attaching the weather stripping to the bottom of the garage door. Align it so that it covers any existing gaps and press it firmly into place. If you're using adhesive weather stripping, remove the backing as you press it onto the surface. Move up the sides, securing the strips in place.
When installing on the sides, make sure the weather stripping overlaps slightly at the corners to prevent any gaps. For top sealing, consider using a top seal designed to keep out weather elements effectively.
Step 6 Test the Seal
After the installation is complete, close the garage door and visually inspect for any light that passes through. If you see any light, it indicates a gap that needs additional sealing. Adjust the weather stripping as necessary to ensure a tight fit.
Conclusion
Installing garage door weather stripping is a simple yet impactful home improvement project that enhances energy efficiency and comfort. By following these steps, you can effectively seal your garage, keeping unwanted elements out and minimizing energy loss. Regularly inspect your weather stripping to ensure it remains in good condition, replacing it as necessary to maintain optimal performance. A well-sealed garage can lead to a more comfortable home and potentially lower energy bills.

