Nov . 14, 2024 22:06 Back to list
replacing garage door bottom seal
Replacing Garage Door Bottom Seal A Step-by-Step Guide
A garage door bottom seal is an essential component for maintaining the energy efficiency and security of your garage. Over time, these seals can wear out, crack, or become damaged, allowing drafts, dirt, and pests to enter your garage space. Replacing the bottom seal is a straightforward DIY task that can enhance the durability of your garage door and improve your home’s overall comfort. Here’s a step-by-step guide to help you with the replacement process.
Materials Needed
Before starting the replacement, gather the necessary materials
1. New Bottom Seal This can be purchased from a home improvement store or online. Make sure to select a seal that is compatible with your garage door model. 2. Utility Knife or Pry Bar For removing the old seal. 3. Measuring Tape To measure the door size and cut the new seal, if required. 4. Safety Gloves To protect your hands during the process.
Step 1 Measure the Old Seal
Begin by measuring the length of the old bottom seal. This will help you acquire the right size for your new seal. If the old seal is damaged or missing, measure the width of the garage door frame to determine the appropriate length.
Step 2 Remove the Old Seal
Using a utility knife or pry bar, carefully remove the old bottom seal. Be cautious not to damage the garage door itself while prying off the seal. If the seal is stuck due to adhesive, apply some pressure and gradually pull it away until it comes off completely.
Step 3 Prepare the Door
replacing garage door bottom seal
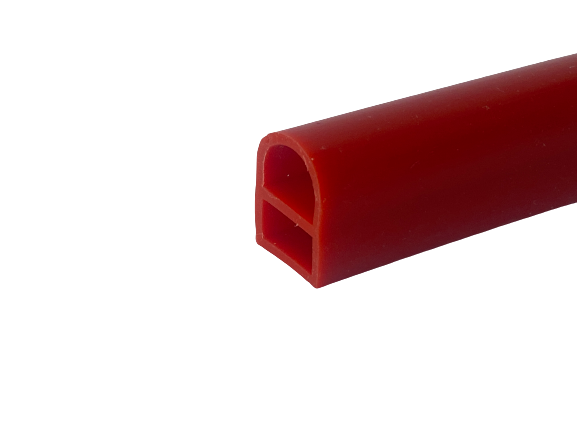
Once the old seal is removed, clean the surface at the bottom of the garage door to ensure that no debris, dirt, or old adhesive remains
. A clean surface is crucial for proper adhesion of the new seal.Step 4 Install the New Seal
With the measurements taken, cut the new bottom seal to fit the length of your garage door, if necessary. Starting from one end, press the new seal into the slot at the bottom of the door. Ensure that it is evenly positioned and securely attached.
Step 5 Check the Fit
After the seal is installed, close the garage door and visually inspect to ensure that the seal is making contact with the ground evenly. There should be no gaps that could allow air or pests to enter through.
Step 6 Test the Door
Once installed, operate the garage door several times to ensure it opens and closes smoothly without interfering with the new seal.
Conclusion
Replacing the garage door bottom seal is a simple yet effective way to enhance your garage's insulation and security. By following these steps, you can ensure your space remains clean and protected from the elements, ultimately saving you money on heating and cooling bills. Regular maintenance, including checking the seals, is key to extending the life of your garage door.
Next:
Prev:

