Οκτ . 05, 2024 07:43 Back to list
How to Change Weather Stripping on the Bottom of Your Door
Replacing Weather Stripping on Door Bottom
Properly functioning weather stripping is essential for maintaining an energy-efficient home. One overlooked area in this regard is the bottom of doors. Over time, the weather stripping at the bottom of doors can wear out, leading to drafts, moisture ingress, and increased energy bills. Fortunately, replacing weather stripping on the door bottom is a straightforward DIY project that can significantly enhance your home’s comfort and efficiency.
Why Replace Weather Stripping?
The primary function of weather stripping is to seal gaps between doors and frames, preventing outdoor air from entering and conditioned air from escaping. In addition to improving energy efficiency, effective weather stripping also protects against moisture, dust, and insects. In colder months, inadequate sealing can lead to chilly drafts, making your home uncomfortable. During warmer months, cool air from your air conditioning may seep out, resulting in higher cooling costs.
Signs That You Need to Replace Weather Stripping
Before beginning the replacement process, it’s important to assess whether your weather stripping requires attention. Common signs include
replacing weather stripping on door bottom

1. Drafts Feel along the edges of the door; if you notice cold or warm air seeping in, it’s time to replace the weather stripping. 2. Visible Damage Cracks, tears, or absent sections in the weather stripping are clear indicators of wear. 3. Increased Energy Costs If your heating or cooling bills have risen significantly, worn weather stripping may be contributing to the problem. 4. Water Damage Signs of moisture or water stains at the base of the door can indicate that the current stripping is failing.
Steps to Replace Weather Stripping on Door Bottom
Replacing weather stripping is a manageable task that requires only a few tools and materials. Follow these steps
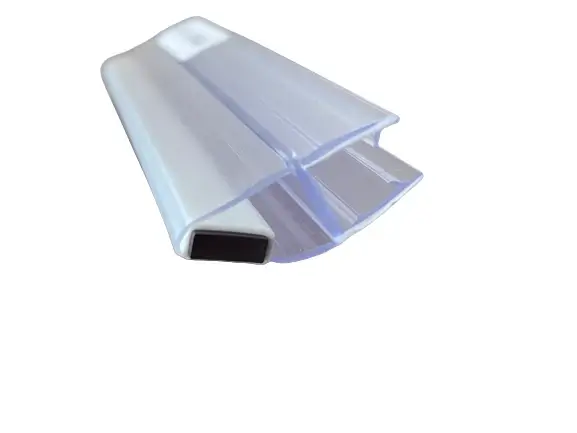
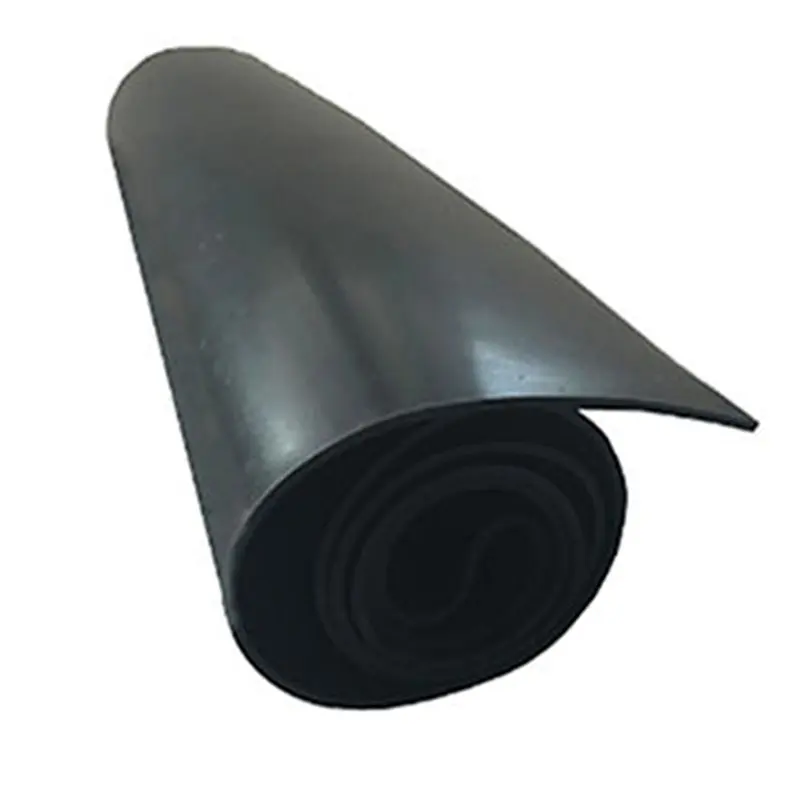
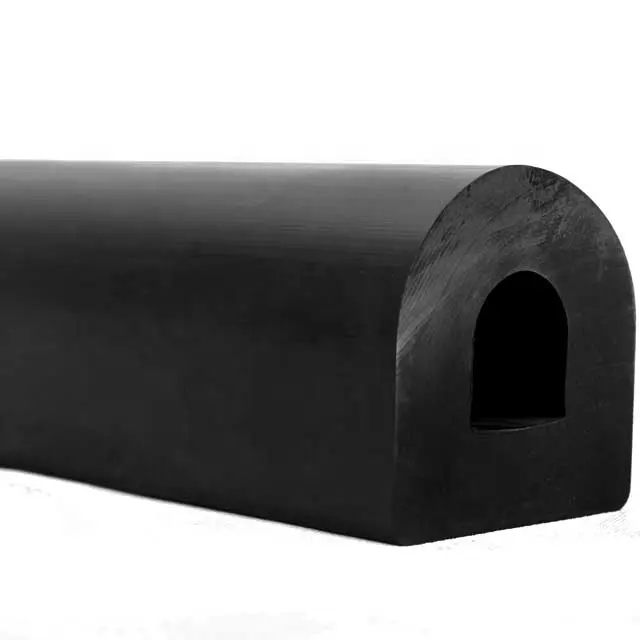
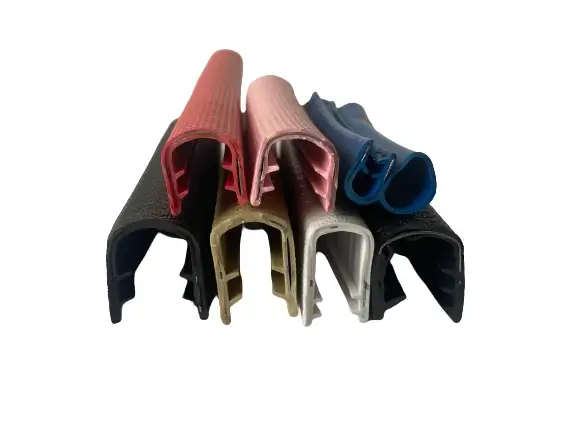
1. Choose the Right Type Weather stripping comes in various materials, such as vinyl, rubber, and foam. Select one that best suits your door and climate. 2. Remove the Old Weather Stripping Use a utility knife or chisel to carefully remove the old weather stripping. Clean the area to remove any adhesive residue. 3. Measure and Cut Measure the length of the door bottom to determine how much new weather stripping you’ll need. Cut the new weather stripping to the same length. 4. Install the New Weather Stripping If using adhesive-backed weather stripping, peel off the backing and press it firmly into place. For other types, you may need to use nails or staples to secure it. 5. Test the Seal Close the door and check for any drafts. You may need to make adjustments or add additional strips if necessary.
Conclusion
Replacing the weather stripping at the bottom of a door is a simple yet highly effective way to enhance your home’s energy efficiency and comfort. By paying attention to the state of your door seals and doing regular maintenance, you can prevent potential problems and keep your home comfortable throughout the year. With just a few tools and some time, you can make a significant difference in your home’s energy consumption and overall comfort.


