Nov . 08, 2024 04:23 Back to list
How to Properly Install Weather Stripping on Your Door for Better Insulation
Installing Weather Stripping for Doors A Comprehensive Guide
Weather stripping is an essential component in enhancing the energy efficiency of your home. It helps prevent drafts, reduces energy costs, and maintains a comfortable indoor temperature. If you've noticed chilly air seeping in around your doors or increased energy bills, it may be time to install weather stripping. This article will guide you through the process of installing weather stripping on your door, ensuring you can enjoy a more energy-efficient home.
Understanding the Need for Weather Stripping
Before diving into the installation process, it’s important to understand the role of weather stripping. It is designed to seal gaps between the door and its frame. This prevents air leaks that can lead to decreased heating and cooling efficiency. Properly installed weather stripping can help keep your home warm during winter and cool during summer, ultimately leading to energy savings.
Types of Weather Stripping
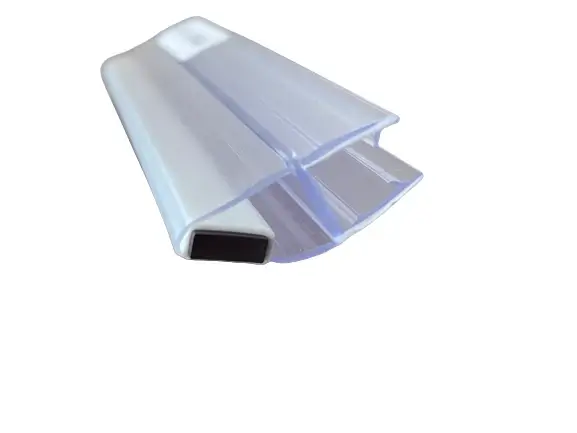
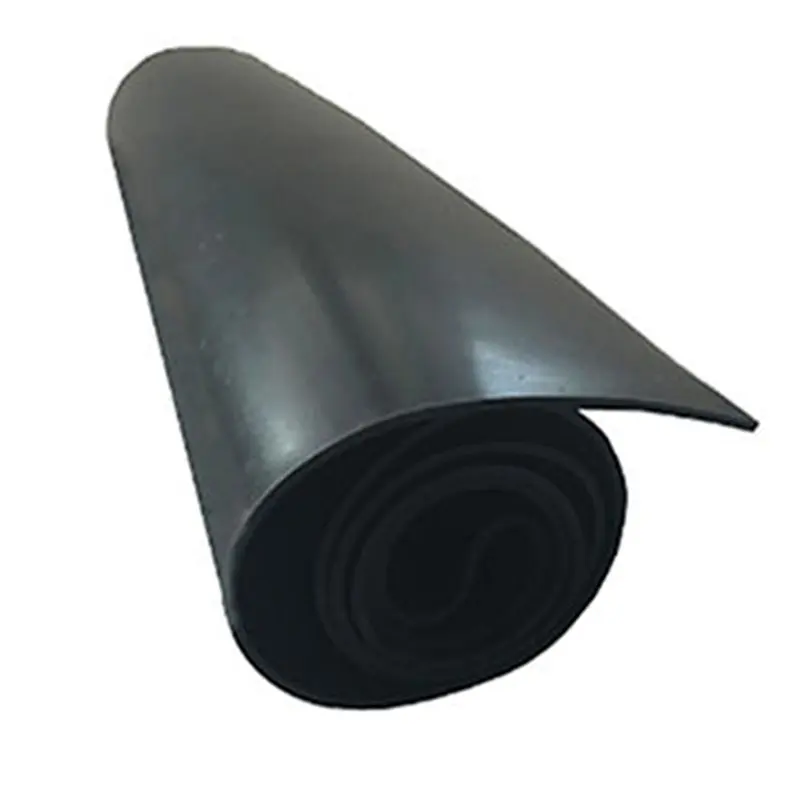
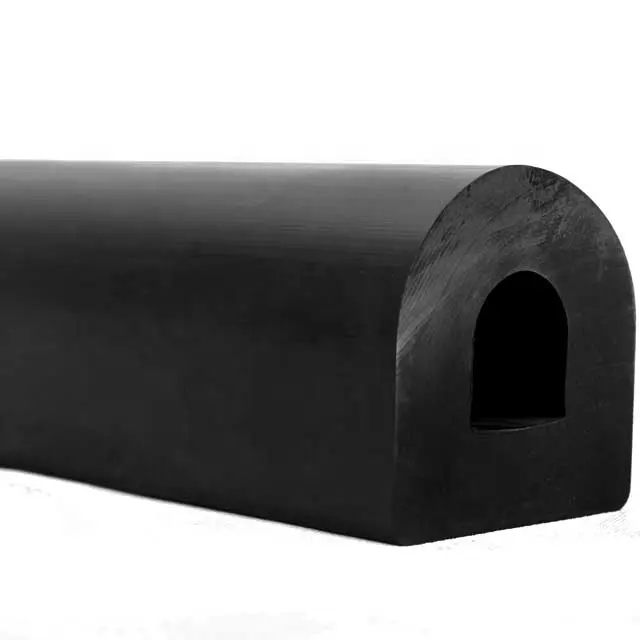
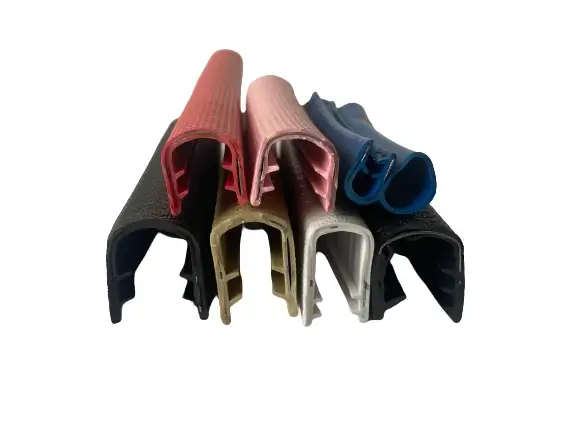
There are several types of weather stripping available, each suited for different doors and purposes. The most common types are
1. V-strip A flexible strip that creates a ‘V’ shape. It is ideal for sealing the top and sides of doors. 2. Adhesive-backed foam Soft foam that sticks directly to the door frame. It’s easy to apply and great for irregular gaps.
3. Door sweeps Attached at the bottom of the door, door sweeps prevent drafts from entering beneath the door. They can be made of rubber, vinyl, or bristles.
4. Metals or vinyl fins These are typically used for exterior doors and provide a robust seal against harsh weather conditions.
Tools and Materials Needed
Before you begin, gather the necessary tools and materials - Weather stripping of your choice - Measuring tape - Scissors or a utility knife - Screwdriver - Clean cloth - Adhesive remover (if necessary)
installing weather stripping door
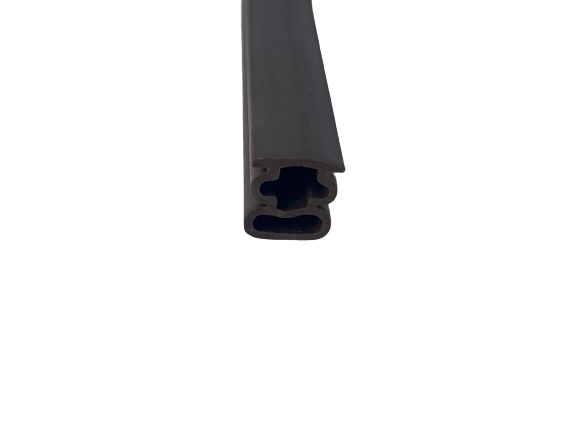
Step-by-Step Installation Guide
1. Measure the Gaps Using your measuring tape, assess the gaps around your door. When measuring, be sure to check both the sides and the top of the door frame. Note down the measurements, as this will help you determine how much weather stripping you will need.
2. Choose the Right Weather Stripping Select the appropriate type of weather stripping based on your measurements and the specific design of your door. Make sure to buy a little extra in case of mistakes.
3. Prepare the Surface Clean the door frame thoroughly using a cloth to remove dirt, dust, and old adhesive if you are replacing existing weather stripping. A clean surface ensures better adhesion.
4. Cut the Weather Stripping Using scissors or a utility knife, cut the weather stripping to the appropriate lengths according to your measurements. If you’re using adhesive-backed strips, make sure the cuts are straight for a proper fit.
5. Apply the Weather Stripping For adhesive-backed foam, peel off the backing and press the strip firmly into place, starting at the top and working your way down. For V-strips, use the provided screws or nails to attach it securely to the frame, ensuring it is flush with the door when closed.
6. Install the Door Sweep If you’re adding a door sweep, align it at the bottom of the door to ensure it creates a tight seal when closed. Mark the screw locations, drill pilot holes, and then screw the sweep into place.
7. Test the Seal Close the door and check for any drafts. If you feel air coming through, you may need to adjust the weather stripping for a tighter fit.
Conclusion
Installing weather stripping on your door is a straightforward DIY task that provides immediate benefits in energy savings and comfort. With the right materials and a little time, you can effectively seal your home against drafts, enhancing both its efficiency and livability. Regular maintenance and checks can also ensure your weather stripping remains functional for years to come. Take action today and enjoy a warmer, more energy-efficient home!

