
Nov . 30, 2024 20:03 Back to list
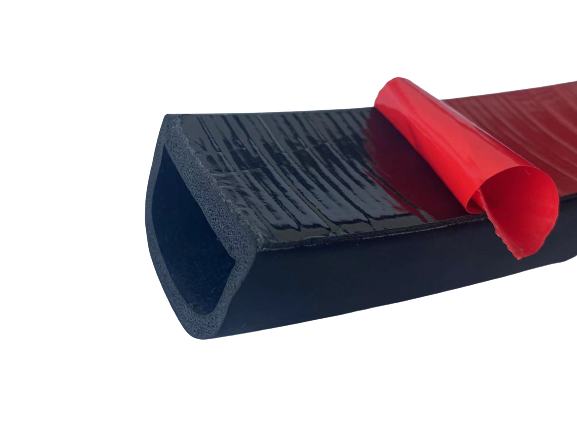
fridge door rubber seal replacement
Replacing the Fridge Door Rubber Seal A Complete Guide
Every homeowner knows that the refrigerator is one of the most essential appliances in the kitchen. It keeps food fresh, preserves leftovers, and helps maintain the overall quality of your household items. However, one often-overlooked component of this appliance is the fridge door rubber seal, also known as the gasket. This rubber lining is crucial for maintaining the refrigerator's efficiency, and over time, it may degrade or become damaged. In this article, we will explore why replacing the fridge door rubber seal is important, how to identify when it needs replacement, and a step-by-step guide on how to do it yourself.
Why Is the Rubber Seal Important?
The rubber seal plays a vital role in keeping the cold air inside the refrigerator and preventing warm air from entering. A properly sealed refrigerator works more efficiently, which means it uses less energy and reduces your utility bills. A faulty seal can lead to temperature fluctuations, leaving food vulnerable to spoilage and leading to waste. Additionally, excessive condensation can form inside the fridge, creating an unhealthy environment for both food and the appliance itself.
Signs You Need to Replace the Rubber Seal
Recognizing the signs of a failing rubber seal is key to maintaining the efficiency of your refrigerator. Here are some indicators that it might be time for a replacement
1. Visual Damage Check for any visible cracks, tears, or deformities in the rubber seal. Any breaks in the material can allow warm air to seep in.
2. Poor Closure If the fridge door does not close properly or feels loose, it's a sign the seal may not be making adequate contact with the door frame.
3. Condensation Buildup Excessive moisture inside the fridge can indicate that the seal is compromised and not keeping cold air in.
4. Frost Buildup If you notice frost accumulating in the freezer, it may be due to a faulty seal allowing humid air to enter.
5. Increased Energy Bills Unexplained spikes in your electricity bill could be a sign that your refrigerator is working harder due to inefficiency caused by a damaged seal.
Replacing the Rubber Seal Step-by-Step Guide
Now that you've recognized the importance of a functional rubber seal and identified the need for replacement, let's delve into the step-by-step process of replacing it yourself
.Step 1 Gather Your Tools and Materials
fridge door rubber seal replacement
You'll need - A new rubber seal (make sure it's compatible with your fridge model) - A screwdriver (for removing the door if necessary) - Warm soapy water - A clean cloth
Step 2 Remove the Old Seal
Carefully pull the old rubber seal off the door. In some cases, it may be attached with screws or clips, so be prepared to use your screwdriver to loosen it. Take your time to avoid damaging the door or frame during this process.
Step 3 Clean the Area
Use warm soapy water to clean the area where the new seal will be installed. Removing any residue will ensure a better fit for the new seal.
Step 4 Install the New Seal
Position the new rubber seal along the edge of the fridge door. Make sure it aligns correctly with the corners and fits snugly. If it has clips or screws, secure them to hold the seal in place.
Step 5 Test the Seal
After installation, close the refrigerator door and check the seal's integrity. You can perform a simple test by placing a piece of paper between the seal and the door. If you can pull it out easily when the door is closed, the seal may need adjustment. The seal should grip the paper firmly.
Step 6 Final Adjustments
Make any necessary adjustments to ensure a tight fit. Afterward, allow the refrigerator a few hours to stabilize before putting food back inside.
Conclusion
Replacing the fridge door rubber seal might seem like a small task, but it has significant implications for the efficiency and longevity of your appliance. By staying vigilant for signs of wear and tear and addressing issues promptly, you can ensure your refrigerator continues to operate at its best. A simple DIY replacement can save you money on energy bills, reduce food waste, and enhance your kitchen's overall functionality. So, take charge of your appliance maintenance today!


