ოქტ . 13, 2024 08:47 Back to list
rubber weatherstrip for garden shed door protection against elements
The Importance of Rubber Seals for Shed Doors
When it comes to maintaining a well-functioning shed, one often overlooks the significance of the door seal. Rubber seals play an essential role in ensuring that your shed remains a protected and efficient space for storage. This article will explore the various benefits of rubber seals for shed doors, their applications, installation tips, and maintenance practices.
First and foremost, rubber seals are vital for weatherproofing your shed. One of the main purposes of these seals is to prevent external elements, like rainwater, snow, and wind, from entering the shed. By installing high-quality rubber seals around your shed door, you can significantly reduce the risk of moisture damage to your stored items. Excess humidity can lead to mold growth, rot, and deterioration of tools, equipment, and materials. Therefore, an effective sealing solution is an investment in the longevity of your possessions.
Additionally, rubber seals enhance the energy efficiency of a shed, which is particularly beneficial for those who use their sheds as workshops or hobby spaces. Drafts and temperature fluctuations can make it uncomfortable to work in your shed. By ensuring a tight seal around the door, the temperature inside can be regulated more effectively, allowing for a more pleasant environment. This means you can enjoy your time in the shed regardless of the season.
Another important aspect of rubber seals is their ability to keep pests at bay. Rodents, insects, and other unwanted critters can easily find their way into your shed if there are gaps around the door. Rubber seals, providing a snug fit, help to deter these intruders, safeguarding your belongings from damage and contamination. This is particularly crucial for those storing food items, fertilizers, or gardening supplies, which can attract pests.
Installing rubber seals on your shed doors is a straightforward process. Here’s a simple guide to help you get started
1. Measure the Door Begin by measuring the width and height of your shed door to determine how much rubber sealing strip you will need.
rubber seal for shed door

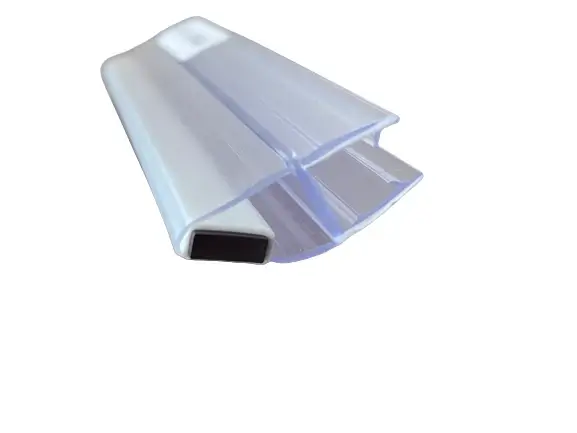
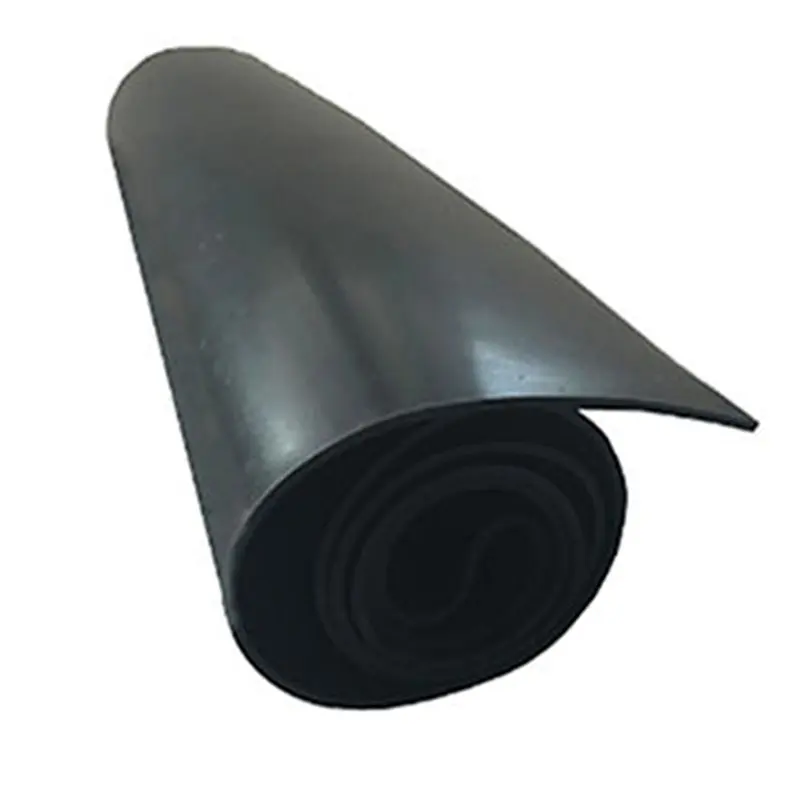
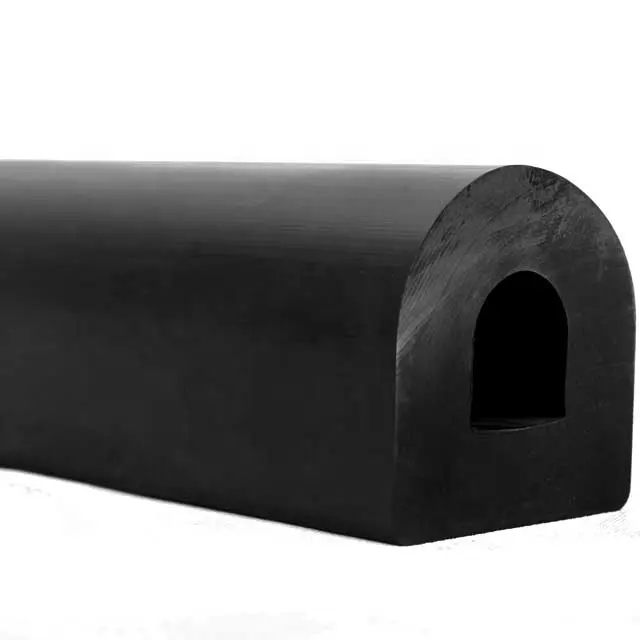
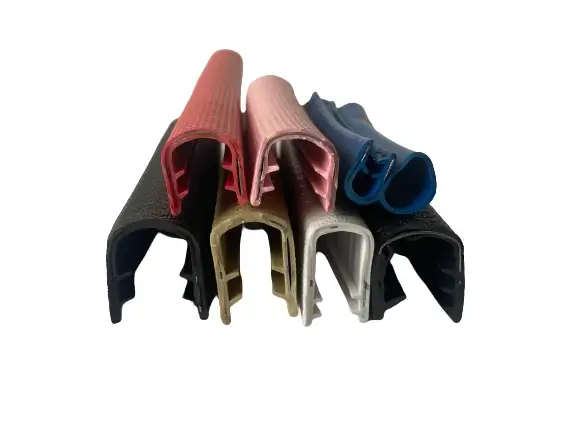
2. Choose the Right Seal There are various types of rubber seals available, including self-adhesive strips and ones that require screws. Consider the specific needs of your shed and choose a seal that fits.
3. Prepare the Surface Ensure that the edges of the door and the frame are clean and dry. Remove any old seals or debris that may interfere with the installation.
4. Cut to Size Cut the rubber seal to match the dimensions of your door, ensuring it fits snugly on all sides.
5. Install the Seal If using self-adhesive seals, peel off the backing and carefully press the seal into place. For screw-in types, position the seal and securely fasten it using screws, ensuring it maintains a uniform contact with the door.
6. Test the Fit Close the door and check for any gaps. Make adjustments if necessary to ensure a tight seal.
To maintain rubber seals over time, it is important to clean them periodically and inspect for wear and tear. A simple wipe-down with a damp cloth and checking for cracks or loss of elasticity will help extend the lifespan of the seals. Replacing seals that have become worn is crucial in preserving the integrity of your shed.
In conclusion, rubber seals are an essential component of shed door maintenance. They offer weatherproofing, energy efficiency, and pest control, all of which contribute to the overall functionality and safety of your storage space. Investing time and effort into installing and maintaining rubber seals can ultimately lead to a more protected and efficient shed, ensuring that your tools and supplies remain in excellent condition for years to come.


