Ara . 12, 2024 15:26 Back to list
home weather stripping
Home Weather Stripping Enhancing Comfort and Energy Efficiency
As the seasons change, many homeowners face the challenge of maintaining a comfortable indoor environment while minimizing energy costs. One effective solution to combat drafty windows and doors is weather stripping. This essential home improvement technique not only enhances comfort but also promotes energy efficiency, ultimately saving money on utility bills.
Weather stripping refers to the process of sealing gaps and openings around doors and windows to prevent air leaks. By creating a barrier against outside elements, you can ensure that your home stays warm in the winter and cool in the summer. This is particularly important for areas prone to extreme weather conditions, where heating and cooling costs can skyrocket.
Types of Weather Stripping
There are several types of weather stripping materials available, each suited for different applications. Here are some of the most common types
1. Foam Tape This is an easy-to-install and budget-friendly option. Foam tape is typically adhesive-backed and comes in various thicknesses. It works well for irregular gaps and can be cut to size.
2. V Strip Also known as tension seals or V-type weather stripping, this option is made from durable materials like vinyl or metal and is designed to be applied to the sides of doors and windows. When compressed, it forms a tight seal, preventing air infiltration.
3. Door Sweeps This type fits at the bottom of doors and is particularly effective for blocking drafts. Door sweeps can be made of various materials, including rubber, aluminum, or vinyl, and are easy to install.
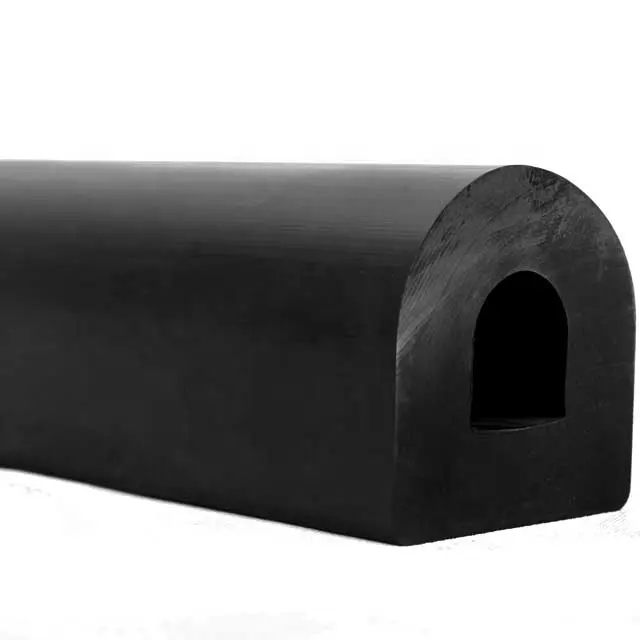
4. Tubular Rubber Gaskets These gaskets are effective for closing gaps around doors and windows. They are highly durable and can provide excellent insulation when installed correctly.
home weather stripping

Installation Tips
Installing weather stripping is a straightforward DIY project. Start by identifying the areas in your home where air leakage occurs. You can check for drafts by placing your hand near windows and doors on a windy day. If you feel air, it’s time to weather strip.
1. Clean the Surface Before applying any weather stripping, ensure that the surfaces are clean and dry. Remove any old weather stripping and clean the area with a mild detergent.
2. Measure and Cut Measure the length of the gaps to be sealed, and cut the weather stripping materials accordingly. It’s important to be precise to ensure a proper fit.
3. Apply Adhesive For adhesive types, peel off the backing and press the strip firmly into place. For other types, such as V strips, use small finishing nails to secure them in place.
4. Test the Seal After installation, check the effectiveness of your weather stripping by closing the door or window and feeling for drafts. Adjust as necessary to achieve a snug fit.
Benefits of Weather Stripping
The benefits of weather stripping extend beyond comfort. By reducing air infiltration, it can significantly decrease heating and cooling costs. Homeowners can save anywhere from 10% to 20% on their energy bills, which adds up over time. Moreover, a well-insulated home can contribute to a lower carbon footprint, promoting environmental sustainability.
In conclusion, weather stripping is an essential home improvement that enhances energy efficiency and comfort. With various materials and easy DIY installation, homeowners can effectively seal gaps around doors and windows, ensuring a cozy living environment regardless of the season. Investing time and resources into this simple yet impactful home maintenance task can yield significant rewards in cost savings and overall comfort.


