Dek . 26, 2024 11:33 Back to list
How to Replace a Single Channel Garage Door Seal Effectively and Efficiently
Replacing Garage Door Seal A Comprehensive Guide to Single Channel Seals
Garage doors are pivotal in ensuring the security and insulation of your home. A vital component often overlooked is the garage door seal, particularly the single channel seal. Over time, with exposure to various weather conditions, these seals can wear out, crack, or lose their effectiveness. In this article, we will guide you through the importance of a garage door seal, how to identify when it needs replacing, and a step-by-step process for replacing a single channel garage door seal yourself.
Importance of a Garage Door Seal
The garage door seal serves multiple functions. Primarily, it acts as a barrier against weather elements like wind, rain, snow, and dust, helping to maintain the internal environment of your garage. A proper seal also aids in energy efficiency by preventing drafts and heat loss, which is particularly significant during extreme weather conditions. Furthermore, it helps protect your garage’s contents and can even deter pests from entering.
Signs That Your Garage Door Seal Needs Replacing
Identifying when your garage door seal has reached the end of its lifespan is crucial. Here are some common indicators
1. Cracks and Tears Inspect the seal for visible cracks or tears. These are signs that moisture and pests can infiltrate your garage. 2. Discoloration A seal that has faded or turned brittle may no longer provide the insulation you need.
3. Gaps If you notice gaps between the seal and the ground, heat and air can escape, leading to higher energy bills.
4. Increased Pests Increased insect or rodent activity may indicate that your seal is no longer effective.
5. Noise If you hear more noise than usual when opening or closing the garage door, it may mean the seal is misaligned or worn.
Steps to Replace a Single Channel Garage Door Seal
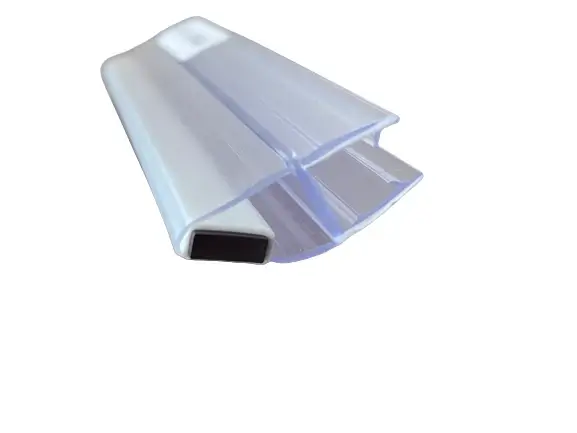
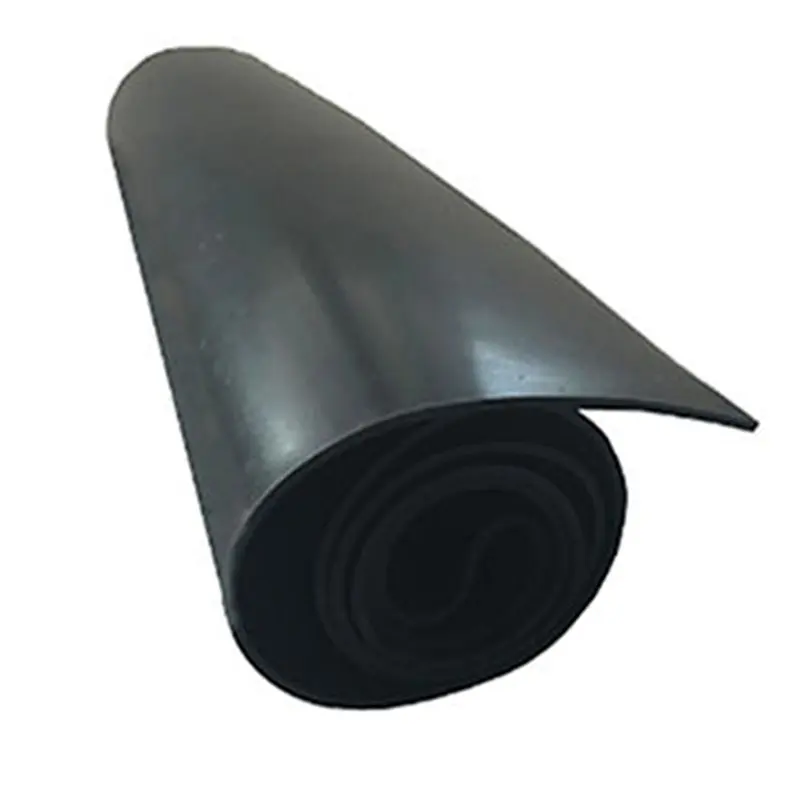
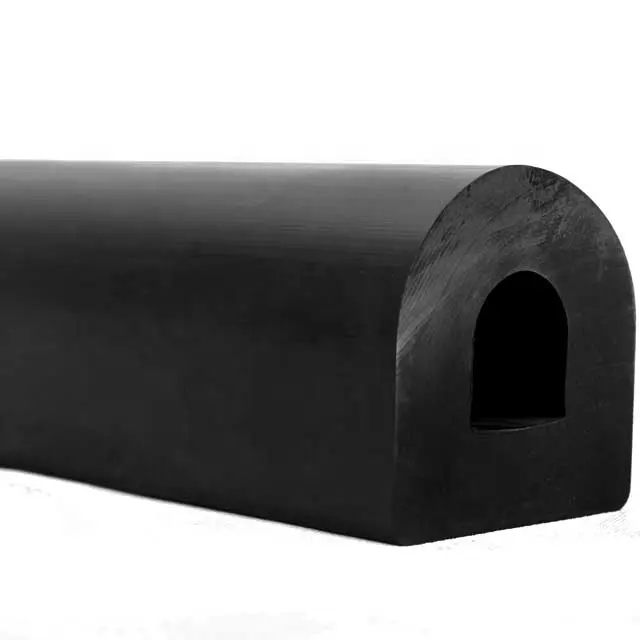
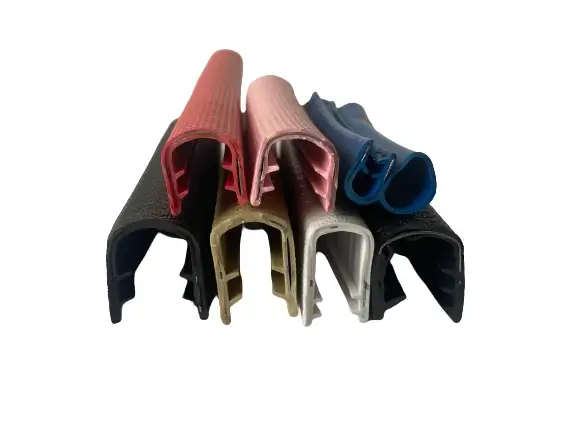
replacing garage door seal single channel

Replacing your garage door seal can seem daunting, but with the right tools and guidance, it can be a straightforward DIY project. Here’s how to do it
Tools and Materials Needed - New single channel garage door seal - Utility knife - Measuring tape - Cleaning supplies (soap and water) - Silicone lubricant or adhesive (if necessary) - Scissors
Step 1 Measure the Existing Seal Start by measuring the length of your existing seal. It is crucial to get the correct dimensions to ensure a proper fit for the new seal. If your current seal is damaged beyond usability, you can also measure the track where the seal is installed.
Step 2 Remove the Old Seal Carefully peel away the old seal from its channel. If it's difficult to remove, a utility knife may help. Be sure to clean the area of any debris or remnants of the old seal, as this will allow the new seal to adhere better.
Step 3 Prepare the New Seal Once you have the new seal, cut it to match the length of the previous one. It's better to start slightly longer than needed as you can always trim it down.
Step 4 Install the New Seal Insert the new seal into the channel of the garage door frame. Ensure that it fits snugly and that there are no gaps along the edges. If you have chosen a seal that requires adhesive, apply it as you install the seal for added stability.
Step 5 Test the Fit Once the seal is in place, close your garage door and check for any gaps. Open and close the door several times to verify that the seal moves smoothly without rubbing or catching.
Step 6 Maintenance Tips To prolong the life of your new garage door seal, it's advisable to perform regular maintenance. A quick wash with soap and water can prevent dirt buildup, and applying silicone lubricant periodically can help keep the seal supple.
Conclusion
Replacing a single channel garage door seal is a relatively straightforward task that can significantly enhance your garage's efficiency and security. By keeping an eye on its condition and addressing wear and tear promptly, you ensure your garage remains insulated, pest-free, and protected from inclement weather. With this guide, you're equipped to tackle the replacement yourself, saving time and money while improving your home.


