Jan . 30, 2024 12:26 Back to list
Home sealing strip-How to Weather Strip Windows & Doors
How to Weather Strip Windows & Doors
A drafty home is also an inefficient home. To conserve energy and make your home more comfortable, it helps to keep cold and warm air where they belong by applying weather stripping on your windows and doors. Weather stripping is a fairly simple DIY project that reduces energy use and lowers utility bills.
Choosing the Best Weather Stripping For The Job
Exterior doors and windows need effective insulation to keep your home efficiently warm in the winter and cool in the summer. There are a variety of weather stripping options to choose from, and some of them (for sealing doors) can be used together in order to get the best coverage.
When choosing weather stripping, be sure it is appropriate for its location. Weather stripping must be able to withstand the wear and tear from friction (when opening and closing windows and doors), and fluctuations in temperature and weather.
Here is a brief overview of the most common types of weather stripping:
- Adhesive-Backed Foam Tape – Pressure-sensitive, adhesive-backed foam tape is probably the most common, most affordable and easiest weather stripping to apply. It comes ready to use in rolls of different dimensions. The tape keeps air from sneaking in between the door and the doorstop or between the two window sashes. It also adds a touch of soundproofing and cushioning for when the door is accidentally slammed. It usually lasts up to five years and is ideal for sealing drafty windows and doors.
- Felt – Felt strips have been used for years; they’re an old-fashioned and inexpensive method of applying weather stripping. Like adhesive-backed foam tape, felt comes in rolls of varying lengths, widths, color and quality, and works well for windows and doors. It is usually nailed in place, but there are also adhesive-backed versions.
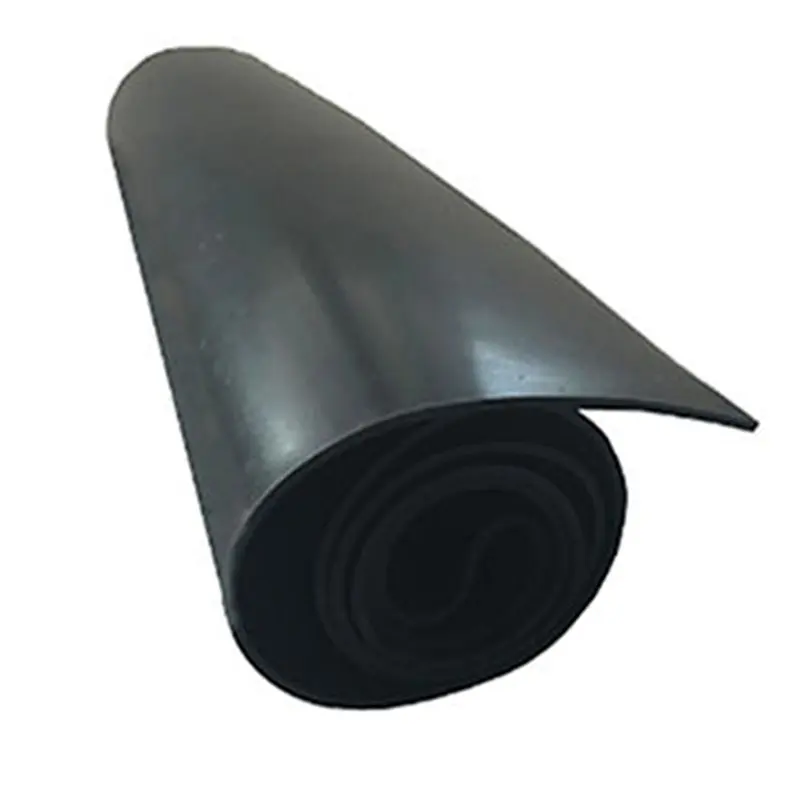
- EPDM Rubber Weatherseal Tape – More durable than foam weather stripping, this self-sticking tape is an effective way to seal windows and doors and works similarly to foam weather stripping tape.
- Vinyl V Strips – These are made of durable and flexible vinyl. Their “V” shape makes them effective for sealing any gaps between window sashes and frames, on both the top and sides of a wood window frame. One side attaches to the window frame and the other side folds in when the window is closed. They are simple to install with their adhesive backing.
- Door Sweeps – Door sweeps go on the bottom of the interior side of an in-swinging exterior door to seal the air gap between the door and the threshold. When used in conjunction with one of the other door weather strips, they provide an excellent seal.
Weather Stripping Doors
Step 1: Inspect and Clean the Doorstop and Jamb
Inspect doorframes for gaps and holes that may need sealing. If there are any holes or cracks on the exterior side of the door around the frame, seal them with caulk rated for outdoor use. Insert the caulk tube into a caulking gun, cut off the end with a utility knife at an angle and push the gun’s plunger against the bottom of the tube. Pull the trigger to release the caulk and pull the gun across the area you want sealed.
Clean the entire area inside where the weather stripping will be added. Use mild detergent, water and a sponge, making sure no dirt or grease remains. Remove old weather stripping and any old adhesive. The old weather stripping should just pull off. For stubborn adhesive, apply a glue-and-adhesive remover with a rag and scrub it away. Read all manufacturer instructions to be sure the product is appropriate and won’t damage wood or other areas. Dry the area with a clean cloth.
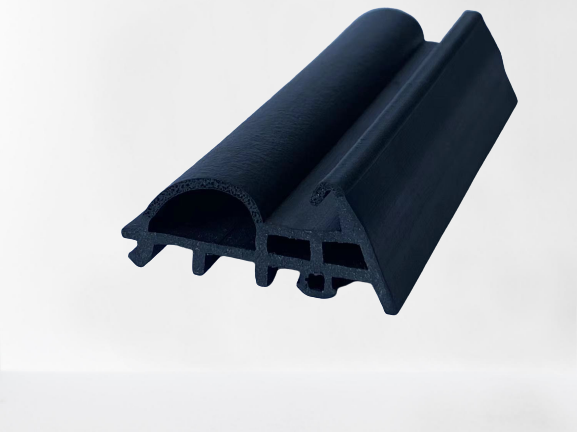
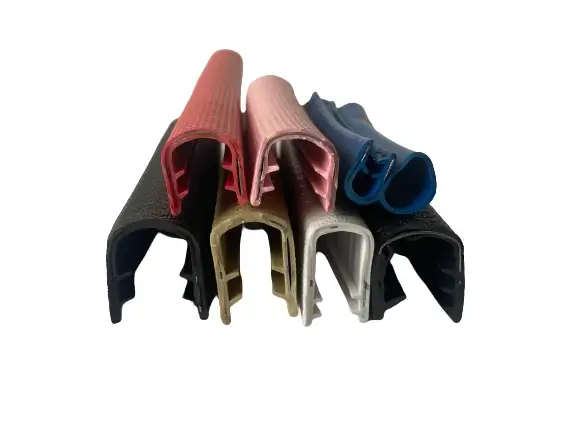
EPDM rubber sealing strip for aluminum window
Step 2: Install Foam Tape Weather Stripping
Install foam tape weather stripping. Foam tape weather stripping installs easily and usually comes with peel-off backing. Measure the doorstop at the top and both sides with a tape measure. Use a utility knife to cut the tape to the correct length needed for each section. Peel off the backing and press the strips against the doorstop just behind the latch area.
Step 3: Install Door Sweep
Install a door sweep to your exterior doors. With the door closed, place the sweep on the bottom of the door and check to see that the sweep’s rubber gasket seals tightly against the threshold. Look for any light shining in from outside under the sweep. If you see any, adjust the sweep until it’s blocked out. When you see no more light, the sweep is correctly in place. Use a pencil or pen to mark where to drill holes for the supplied screws. Use a drill to pre-drill the holes and then fasten the sweep to the door with a screwdriver.
Weather Stripping Windows
Step 1: Inspect and Clean Window Parts
Inspect all windows for gaps that may need sealing. Using mild detergent and water, clean both window sashes. The window sashes are the “frames” directly around each of the windowpanes. There will be a lower and upper sash. Make sure no dirt or grease remains. Remove adhesive from any old weather stripping, using a glue-and-adhesive remover for stubborn adhesive. Dry the area with a clean cloth.
Step 2: Install Foam Tape Weather Stripping
Install foam tape weather stripping to your windows. Measure the bottom of the lower sash and the top of the upper sash and then cut the foam tape with a utility knife to fit these areas. Peel off the backing and press into place. When these sashes are closed, the foam tape will form an airtight barrier so that no outside air can get in and inside air can’t get out. This type of weather stripping can also be used in the window channels (the groove in which the sash moves up and down), but can wear down quickly due to friction if the windows are opened and closed frequently. A better option for this area is vinyl “V” strips (see below).
HELPFUL TIP
Check your weather stripping frequently and replace as needed. Foam tape can wear down within a year, so make sure you are maintaining your weather stripping and replace door and window seals as needed to keep your home insulated.
Step 3: Install Vinyl "V" Strips
Use vinyl V strips. Vinyl “V” strips often go between the sash stiles (the vertical section of the sash) and the window channels. Open the lower sash all the way and measure the channel from the bottom of the sash to the bottom of the channel. Use a utility knife to cut the strip to the correct length. Repeat this for the upper sash, opening it all the way down. Then simply peel away the backing and push the strips into place in the channel. When the sashes are closed, both sides of the “V” are pushed together, forming an airtight seal.
Step 4: Install Shrink Film Window Insulation
Available in different sizes and multi-packs, window insulation kits are a great method of keeping drafty windows sealed. Clean surfaces before application and follow the package instructions. You will attach the film by applying the self-sticking two-sided tape all the way around the window frame, including the sill. Cut off excess film and use hot air from a blow dryer to pull the film tight and create a clear barrier against cold drafts.
Good job! Now enjoy your home and watch your new weather stripping drive your heating and cooling bills down.

