Aug . 19, 2024 03:58 Back to list
How to Properly Install Weather Stripping for Your Garage Door
Installing Garage Door Weather Stripping A Comprehensive Guide
Garage doors are crucial components of any home, providing security and protection for your vehicles and belongings. However, they can often be a source of drafts, moisture, and pests if not properly sealed. One effective solution to these problems is installing weather stripping around your garage door. This guide will walk you through the process of installing garage door weather stripping, ensuring your garage remains comfortable and energy-efficient.
Why Weather Stripping is Essential
Weather stripping serves multiple purposes. First and foremost, it helps seal gaps between the garage door and the frame, preventing air leaks that can lead to higher energy bills. By keeping out cold air in the winter and hot air in the summer, weather stripping contributes significantly to maintaining a stable temperature inside the garage.
Secondly, it protects your garage from moisture, which can cause damage, rust, and mold over time. Lastly, effective weather stripping can deter pests from entering your garage, ensuring a clean and safe environment for your belongings.
Materials You'll Need
Before starting the installation, gather all necessary materials 1. Weather stripping (vinyl, rubber, or foam) 2. Measuring tape 3. Utility knife or scissors 4. Adhesive (if not self-adhesive) 5. Cleaning cloth
Measuring and Choosing the Right Weather Stripping
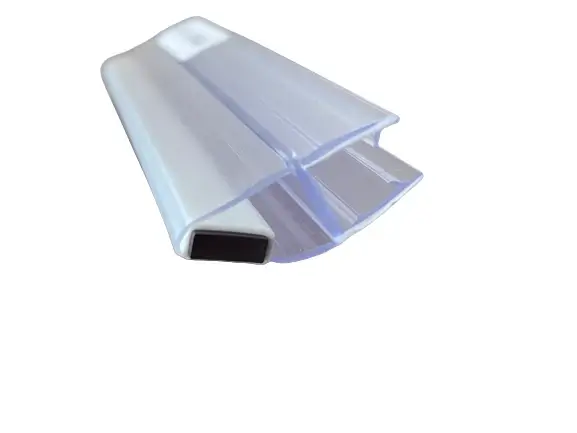
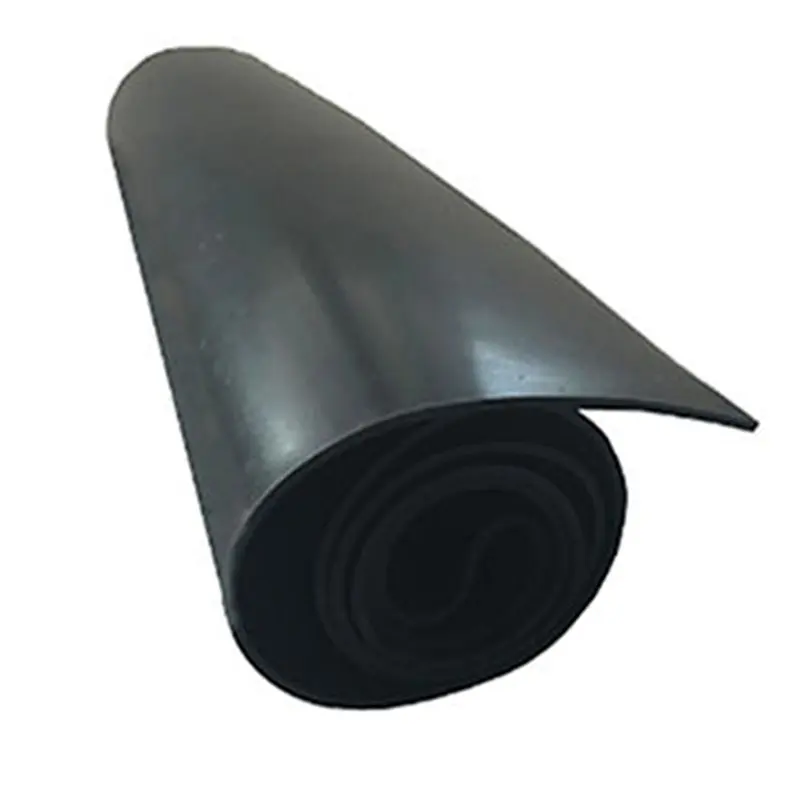
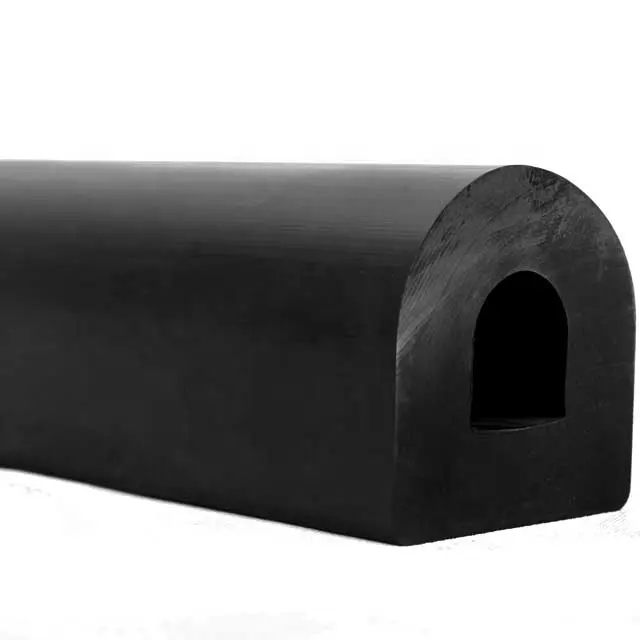
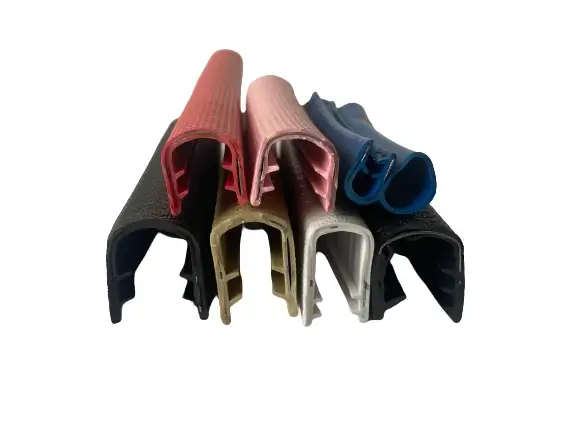
Start by measuring the dimensions of your garage door. It's important to know the length of each side that requires weather stripping. Consider the type of weather stripping that suits your needs. Vinyl and rubber strips are durable and provide excellent insulation, while foam strips are easier to cut and install but may not last as long.
When you purchase weather stripping, ensure it’s the right thickness to fill the gaps effectively. A good rule of thumb is to select a product labeled for garage door use, as these are specifically designed to endure the weight and movement of the door.
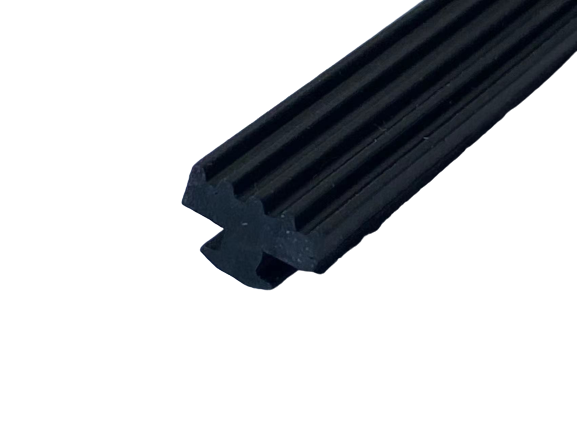
installing garage door weather stripping
Preparation for Installation
Before installation, clean the area around the garage door where the weather stripping will be applied. Remove any debris, dust, or old adhesive remnants. A clean surface allows for better adhesion and longer-lasting results.
Installation Steps
1. Cut the Weather Stripping Begin by measuring and cutting the weather stripping to size. It’s advisable to cut slightly longer than necessary, as it can always be trimmed down later.
2. Apply Weather Stripping If using self-adhesive weather stripping, peel off the backing and firmly press the strip into place. Start at the bottom corner and work your way up, ensuring no gaps are left. For non-adhesive strips, apply a suitable adhesive according to the manufacturer's instructions.
3. Secure the Edges Once the stripping is in place, check that the edges are secure. For added durability, you might use small screws or nails to hold the strips down, particularly at the corners where wear is more common.
4. Test the Seal Close the garage door and inspect the fit. There should be no visible gaps between the door and the weather stripping. If you notice any discrepancies, make adjustments as needed.
Conclusion
Installing garage door weather stripping is a straightforward DIY project that offers significant benefits for homeowners. By following the steps outlined above, you can enhance the energy efficiency of your garage, protect against moisture, and keep unwanted pests at bay. Regular maintenance of your weather stripping is also essential; periodically check for wear and tear and replace it as needed to ensure your garage remains well-protected. Taking these proactive measures will help maintain the integrity of your garage and contribute to a more comfortable home environment overall.

