Oct . 21, 2024 17:01 Back to list
How to Properly Install Weather Stripping for Your Garage Door
Installing Garage Door Weather Stripping A Comprehensive Guide
Garage doors serve as a crucial barrier between your home and the elements. They not only provide security but also play a significant role in maintaining your home’s energy efficiency. One often overlooked aspect of garage doors is weather stripping. Properly installed weather stripping helps prevent drafts, reduces noise, and keeps out rain, snow, and debris. This article will guide you through the process of installing garage door weather stripping, ensuring that your garage remains comfortable and energy-efficient.
Why Weather Stripping is Important
Weather stripping is essential for various reasons. Firstly, it seals gaps in and around your garage door effectively, preventing cold air from entering during the winter and cool air from escaping during the summer. Additionally, it helps guard against water intrusion, which can lead to mold and odor problems. Furthermore, good weather stripping can reduce outside noise, creating a more tranquil environment in your garage and home.
Types of Weather Stripping
Before you start the installation process, it's crucial to choose the right type of weather stripping for your garage door. Common types include
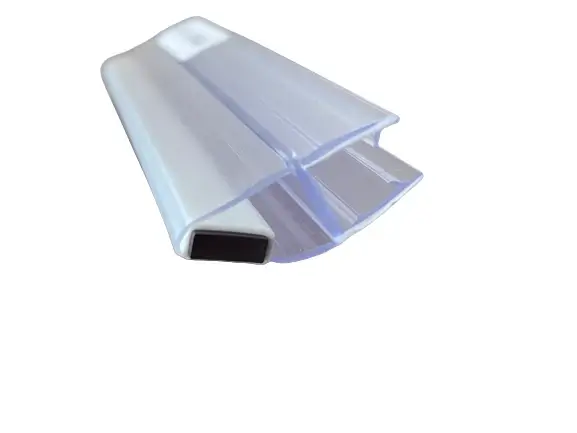
1. Vinyl Weather Stripping Flexible and durable, vinyl weather stripping is resistant to harsh weather conditions. It’s ideal for sealing gaps between the bottom of the garage door and the ground.
2. Foam Weather Stripping This is a self-adhesive option that can easily adhere to the door frame. It’s best for smaller gaps and tends to compress over time.
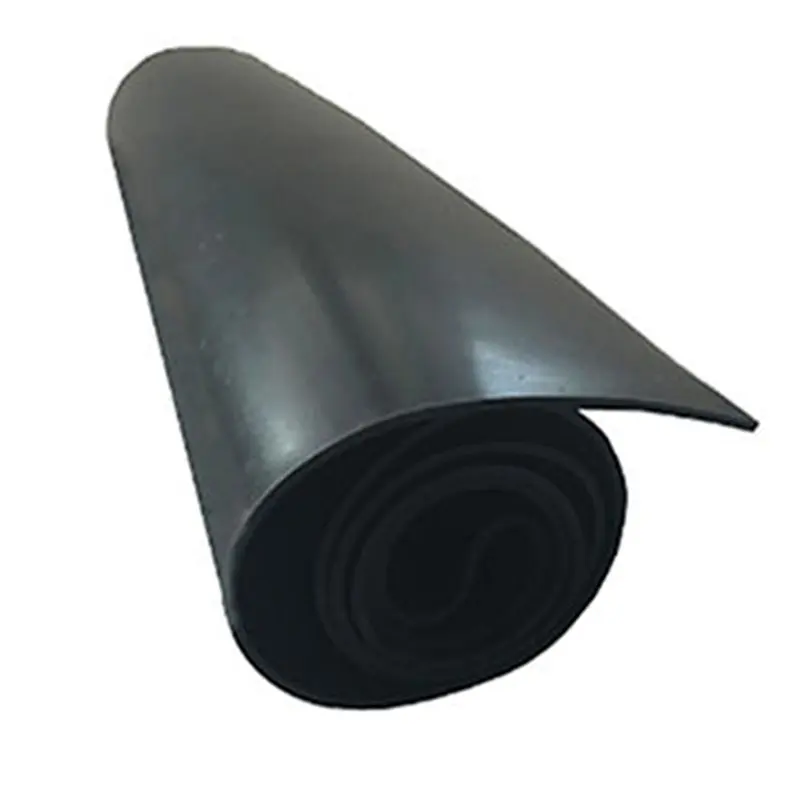
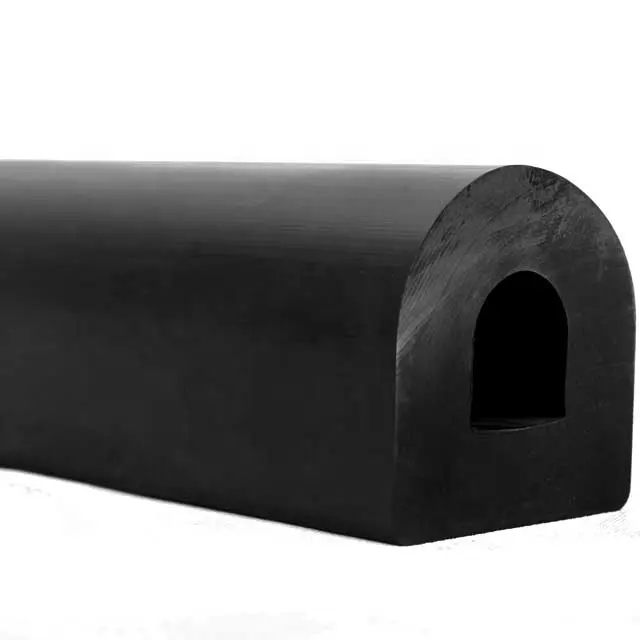
3. Rubber Weather Stripping This is a robust choice that offers excellent durability and thermal insulation. It can be used on various areas of the garage door.
Choose the type that best fits your needs based on durability, ease of installation, and the specific weather conditions in your area.
Tools and Materials Needed
installing garage door weather stripping

Before starting the installation, gather the necessary tools and materials
- Weather stripping (the type of your choice) - Measuring tape - Utility knife or scissors - Screwdriver - Cleaning solution and cloth - Ladder (if needed)
Steps for Installation
1. Measure the Gaps Using a measuring tape, measure the gaps around your garage door. Pay attention to the bottom of the door, the sides, and the top. Note these measurements so you can cut the weather stripping to the proper lengths.
2. Clean the Surface Before applying the weather stripping, ensure that the surfaces are clean and free of dirt, grease, and old adhesive. Use a cleaning solution and a cloth to wipe down the areas where you’ll be installing the weather stripping.
3. Cut the Weather Stripping Cut the weather stripping material to the lengths you measured earlier. If you’re using vinyl or rubber, be sure to make clean, straight cuts for a perfect fit.
4. Apply the Weather Stripping - For Bottom Weather Stripping Install the bottom seal by placing it against the bottom edge of the garage door. Press it into place, ensuring it is flush with the door. - For Side and Top Weather Stripping Apply the adhesive backing along the vertical and horizontal edges of the garage door frame. Ensure it’s tight against the door and cut off any excess.
5. Test the Seal Once you’ve installed the weather stripping, close the garage door and check for any gaps where light or air might seep through. If necessary, make adjustments to ensure a tight seal.
6. Regular Maintenance After installation, check your weather stripping periodically for wear and tear. Replace any damaged or worn sections as needed to maintain optimal performance.
Conclusion
Installing garage door weather stripping is a straightforward yet essential home improvement project that can significantly enhance your garage’s comfort and energy efficiency. By selecting the right materials and following the installation steps carefully, you can create a well-sealed garage that protects against the elements, increases energy savings, and extends the lifespan of your garage door. With a little time and effort, you can ensure your garage remains a clean and comfortable space all year round.


