Oct . 11, 2024 18:33 Back to list
Guide to Installing an Under Door Seal for Improved Insulation and Draft Protection
Installing Under Door Seal A Step-by-Step Guide
Keeping our homes energy-efficient and comfortable is a priority for many homeowners. One of the simplest yet most effective ways to achieve this is by properly sealing the gaps around doors. An under door seal can help prevent drafts, reduce energy costs, and keep unwanted pests out. This article will guide you through the steps to install an under door seal effectively.
What is an Under Door Seal?
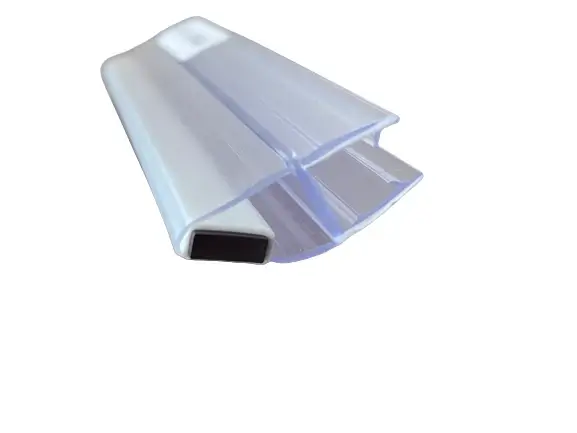
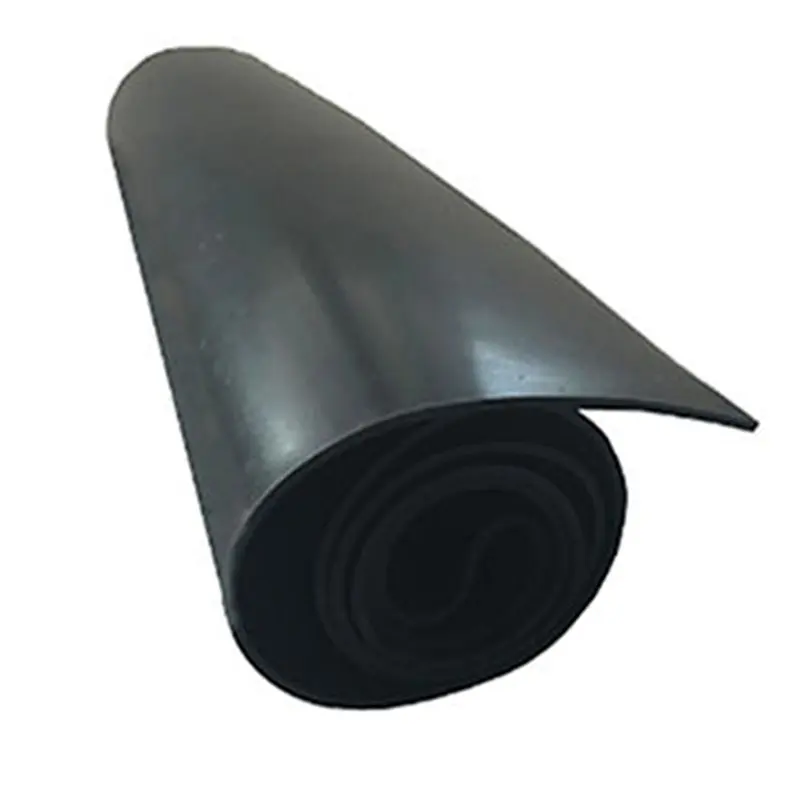
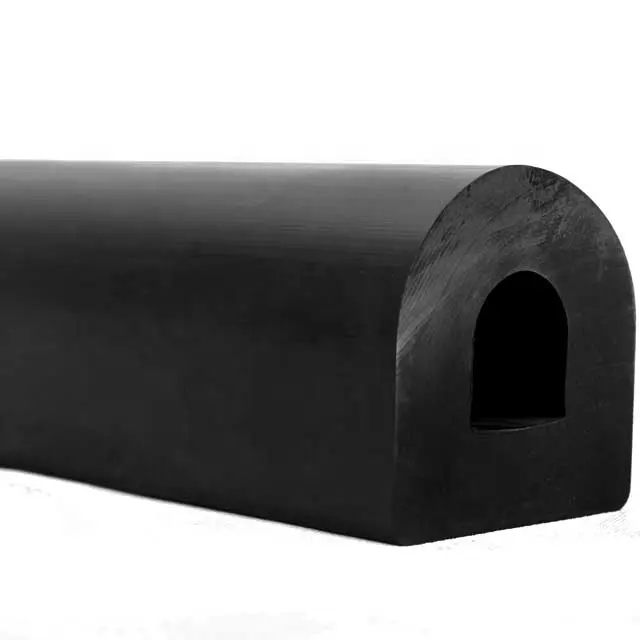
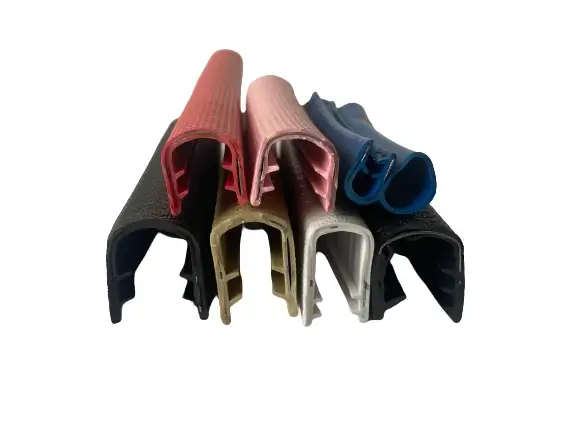
An under door seal is a strip that is installed at the bottom of a door to close the gap between the door and the floor. It acts as a barrier against air leaks, dust, and insects, providing an extra layer of insulation. These seals can be made from various materials, such as rubber, vinyl, or foam, and are available in different sizes to fit various door types.
Tools and Materials Needed
Before you begin the installation, gather the necessary tools and materials - Under door seal strip (measure the width of your door to choose the right size) - Measuring tape - Utility knife or scissors - Adhesive (if required by the product) - Screwdriver (if you need to attach it with screws) - Level (to ensure proper alignment)
Step-by-Step Installation Process
1. Measure the Door Width Start by measuring the width of the door where the seal will be installed. It’s essential to get accurate measurements to ensure a snug fit. Most under door seals come in standard lengths, but they can usually be trimmed to fit.
2. Choose the Right Seal Select the appropriate type of under door seal for your needs. Consider the material and design. For instance, a heavy-duty rubber seal may provide better insulation for exterior doors, while a lightweight foam seal may suffice for interior doors.
3. Prepare the Door Surface Clean the bottom of the door thoroughly to ensure that the adhesive (if used) will stick properly. Remove any dirt, dust, or old sealant that might interfere with the new seal's adherence.
installing under door seal

4. Cut the Seal to Size If necessary, cut the under door seal to fit your door's width. Use sharp scissors or a utility knife for a clean cut. If you are installing a roll-type seal, you may need to cut it to match the measurement taken earlier.
5. Position the Seal With the door closed, position the seal at the bottom of the door. Use a level to make sure it is aligned properly before securing it in place. You want the seal to touch the floor evenly, providing a complete seal against drafts.
6. Attach the Seal Depending on the type of under door seal you have, this can be done in various ways - Adhesive Seal If your seal has an adhesive backing, peel off the protective layer and firmly press the seal into place. - Screw-On Seal If the seal requires screws, pre-drill holes in the door and fasten the seal with screws. Be careful not to overtighten, as this could damage the door.
7. Check for Gaps After installation, check for any gaps by opening and closing the door. The seal should compress slightly against the floor without being overly tight or preventing the door from closing smoothly.
8. Test the Effectiveness Finally, once the seal is installed, test its effectiveness by running your hand along the bottom edge of the door to feel for any drafts. This can help ensure that you’ve achieved a good seal.
Maintenance Tips
Regular maintenance will prolong the life of your under door seal. Make sure to periodically check for wear and tear, and clean the area around the seal to prevent buildup of dirt or debris. If you notice any signs of damage, consider replacing the seal promptly to maintain energy efficiency.
Conclusion
Installing an under door seal is a simple and cost-effective way to improve your home’s energy efficiency and comfort. By following these steps, you can effectively seal gaps and enjoy a more pleasant living environment all year round. Whether you're a seasoned DIY enthusiast or a first-time homeowner, this project can be accomplished quickly with just a few tools and materials.


