Oct . 21, 2024 04:03 Back to list
How to Install a New Seal for Your Garage Door
Replacing Garage Door Seal A Comprehensive Guide
Keeping your garage waterproof and insulated is crucial for maintaining your home’s energy efficiency and security. One of the most significant components of your garage that contributes to this is the garage door seal. Over time, seals can become worn, cracked, or damaged, leading to temperature fluctuations, increased energy costs, and even pests entering your garage. If you find that your garage door seal needs replacement, this guide will walk you through the process step by step.
Why Replace Your Garage Door Seal?
A garage door seal plays a vital role in protecting your garage from the elements. It serves to block water, debris, and unwanted pests from entering your space. A deteriorated seal can lead to a range of issues, including mold growth, rust accumulation on tools, and higher heating and cooling bills. By replacing the seal, you can improve energy efficiency, enhance comfort, and prolong the life of your garage and its contents.
Signs You Need a New Seal
1. Visual Damage Cracks, tears, or missing sections in the seal indicate that it’s time for a replacement. 2. Water Leakage If you notice water pooling inside your garage following a rainstorm, your seal may not be providing adequate protection. 3. Unwanted Vents Insects or rodents entering your garage are a sign that the seal is compromised. 4. Temperature Imbalances If your garage is significantly warmer in the summer or colder in the winter compared to the rest of your home, the seal might be allowing outside air to infiltrate.
Tools and Materials You’ll Need
Before you start, gather the following tools and materials - New garage door seal (ensure it’s the right size and type for your door) - Utility knife - Measuring tape - Screwdriver (if necessary) - Caulking gun (for sealing) - Safety gloves
Step-by-Step Replacement Process
Step 1 Measure the Existing Seal
Before purchasing a new seal, measure the length and width of the existing seal. Take note of the type of seal you currently have, as there are various options such as bulb seals, T-seals, and brush seals. This will help ensure you buy the right replacement.
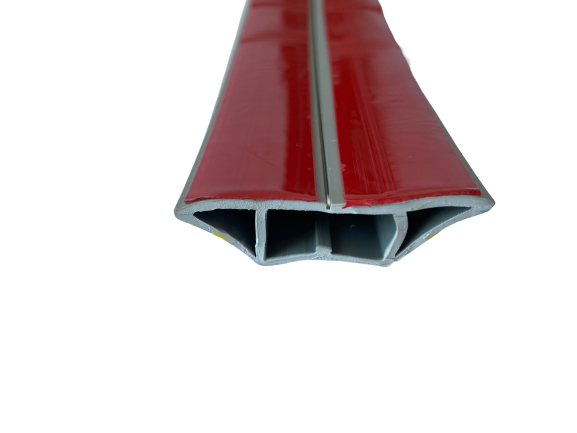
replacing garage door seal
Step 2 Remove the Old Seal
Using a utility knife, carefully cut away the old seal. If it’s stuck, you may need to pry it off gently. Make sure to remove any adhesive residue from the garage door edge to prepare for the new seal.
Step 3 Clean the Area
Once the old seal is removed, clean the area where the new seal will be installed. This ensures that the seal adheres properly and provides the best protection possible.
Step 4 Install the New Seal
Begin installing the new seal at one corner of the garage door. Press it firmly into place. If your seal requires adhesive, use a caulking gun to apply a line of adhesive, helping your new seal stick in place. Continue along the entire perimeter.
Step 5 Check the Fit
Once the seal is installed, close the garage door to ensure it fits snugly against the new seal. Look for any gaps or areas that may need adjustment.
Final Thoughts
Replacing your garage door seal may seem like a minor task, but it can have significant implications for your home’s energy efficiency and security. By making the effort to replace it, you not only protect your garage but also enhance the overall integrity of your home. Regular maintenance and monitoring of your garage door seal can help you avoid costly repairs down the line, making it a worthwhile investment in your property.

