Oct . 13, 2024 06:34 Back to list
replacing weather stripping on door bottom
Replacing Weather Stripping on Door Bottom A Complete Guide
As seasons change, homeowners often face various challenges related to energy efficiency and comfort within their living spaces. One common issue that arises, particularly as winter approaches, is the draftiness of doors. This discomfort can usually be traced back to worn-out or damaged weather stripping. In this article, we’ll explore the importance of weather stripping, how to identify issues with it, and provide a step-by-step guide on replacing the weather stripping on the bottom of your door.
Understanding Weather Stripping
Weather stripping is a flexible material that seals the gaps around doors and windows, preventing drafts, moisture, and insects from entering your home. Over time, however, weather stripping can wear out due to exposure to the elements, leading to inefficiencies in your heating and cooling efforts and sometimes increasing your energy bills. Therefore, maintaining and replacing weather stripping is an essential task for any homeowner.
Signs That You Need to Replace Weather Stripping
Before diving into the replacement process, it’s crucial to understand the signs that indicate it’s time to replace your door’s weather stripping. Here are a few indicators to look out for
1. Drafts If you feel a noticeable draft when standing near the door, it’s a clear indication that the weather stripping may have deteriorated. 2. Visible Damage Inspect the weather stripping for any cracks, tears, or missing sections. If you notice these signs, replacement is necessary. 3. Increased Energy Bills A sudden increase in your heating or cooling bills can also be a sign that your doors are not adequately sealed. 4. Water Damage In rainy conditions, check for water pooling near the door, which may suggest that the weather stripping is failing to repel moisture effectively.
Tools and Materials Needed
To replace the weather stripping on your door bottom, gather the following tools and materials
- Replacement weather stripping (choose a style that suits your door) - Scissors or utility knife - Measuring tape - Screwdriver - Adhesive (if required) - Cleaning supplies (for surface preparation) - Safety goggles (for protection)
replacing weather stripping on door bottom
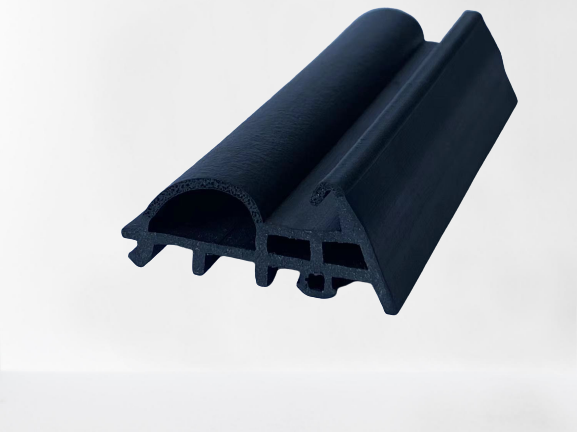
Step-by-Step Guide to Replacing Weather Stripping
1. Remove the Old Weather Stripping Start by gently pulling away the old weather stripping from the bottom of the door. If it’s nailed or screwed in place, use a screwdriver or pry tool to carefully remove it without damaging the door.
2. Clean the Surface Once all old material is removed, clean the surface where the new weather stripping will be applied. Use a damp cloth to wipe away dirt, dust, or residue. Make sure it's completely dry before proceeding.
3. Measure the Door Width Use a measuring tape to measure the width of the door. This measurement will help you cut the new weather stripping to the correct length.
4. Cut the New Weather Stripping Based on your measurements, cut the new weather stripping to length using scissors or a utility knife. Ensure the cuts are straight for a better fit.
5. Install the New Weather Stripping Depending on the type of weather stripping you’ve selected, you may need to peel off a protective backing and press it into place along the bottom of the door, or you may need to secure it with adhesive or screws. Follow the manufacturer’s instructions for the best results.
6. Test the Seal Once the new weather stripping is installed, close the door and check for any gaps where light may be visible. If you notice any drafts or light, readjust the weather stripping as needed for a snug fit.
7. Regular Maintenance To prolong the life of your new weather stripping, periodically check it for wear and tear, especially after severe weather conditions. Keeping the area clean will also help maintain its effectiveness.
Conclusion
Replacing the weather stripping on the bottom of your door is a straightforward DIY task that can significantly enhance your home’s comfort and energy efficiency. By following the steps outlined above, you can ensure that your home remains cozy and protected against the elements. Remember to conduct regular checks and maintenance to keep your weather stripping in top shape, ensuring that your door remains an effective barrier against drafts and moisture. With a little effort today, you can enjoy a more comfortable living environment for years to come.
Next:
Prev:

