Jul . 25, 2024 22:32 Back to list
Steps to Effectively Install Weather Stripping on Your Doors for Improved Energy Efficiency
Installing Weather Stripping on Doors A Step-by-Step Guide
Weather stripping is an essential home improvement technique that can significantly enhance energy efficiency and comfort in your living space. By sealing gaps around doors, you can prevent drafts, moisture, and energy loss, leading to lower heating and cooling costs. This article will guide you through the process of installing weather stripping on doors, ensuring a snug fit and maximum protection against the elements.
Why Choose Weather Stripping?
Before diving into the installation process, it's important to understand the benefits of weather stripping. Properly installed weather stripping helps
1. Reduce Energy Costs By sealing air leaks, you can keep conditioned air inside your home longer, reducing the workload on your heating and cooling systems. 2. Enhance Comfort Eliminating drafts creates a more comfortable living environment, especially during extreme weather conditions. 3. Prevent Moisture Damage Weather stripping also protects against moisture infiltration, which can lead to mold growth and deterioration of your door frame.
Types of Weather Stripping
Several types of weather stripping materials are available, each suitable for different installation areas and preferences
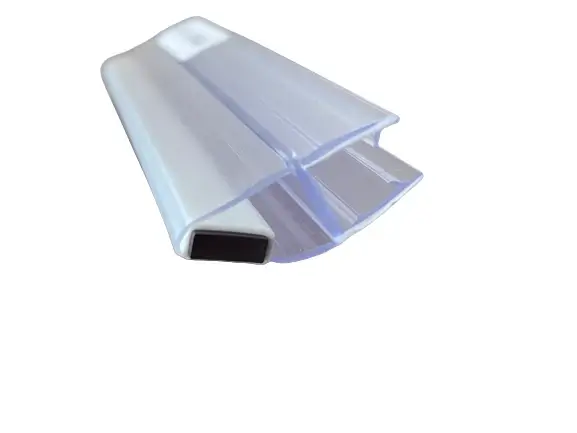
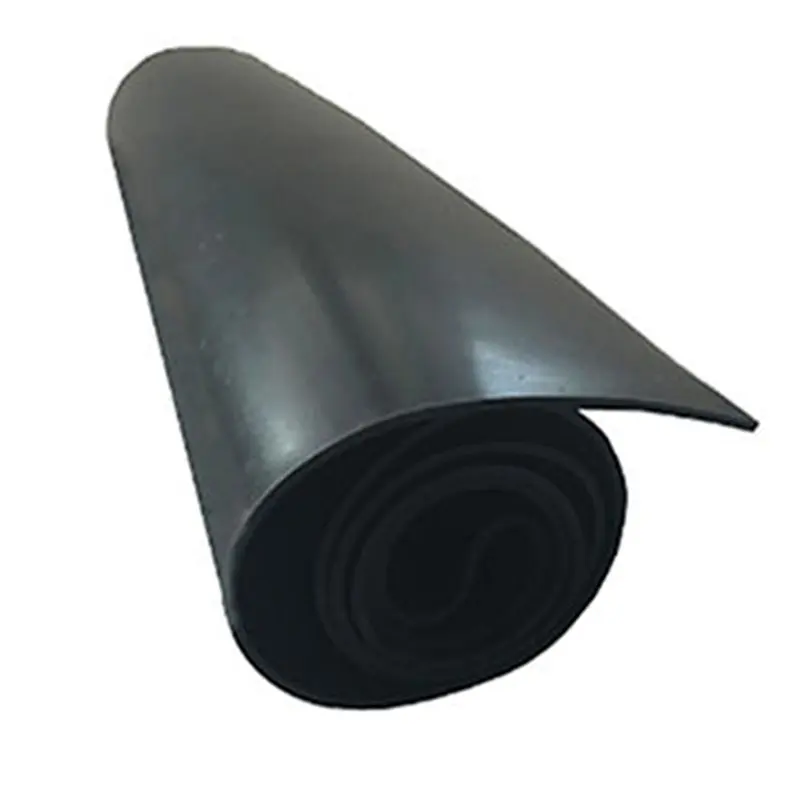
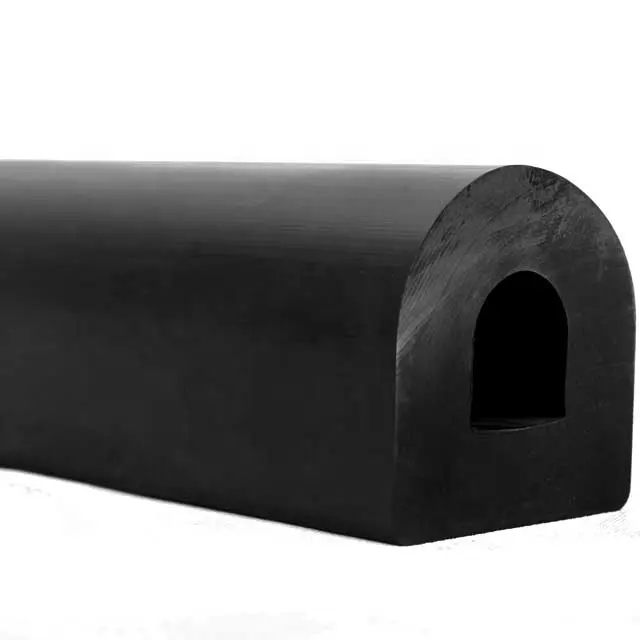
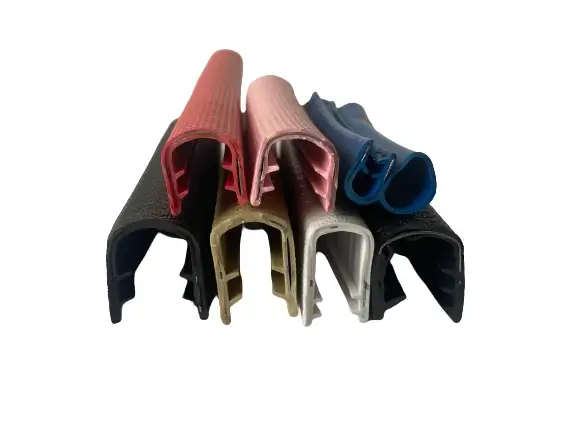
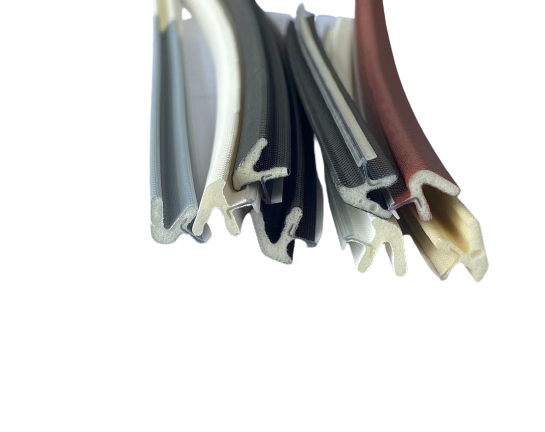
- V-strip This flexible plastic or metal strip can be applied to the sides of doors and windows. - Adhesive-backed foam Easy to install, this foam adheres directly to the door frame and compresses easily to create a snug fit. - Rubber or vinyl These materials provide a durable seal and are often used alongside adjustable door sweeps. - Door sweeps Installed at the bottom of the door, sweeps prevent drafts and moisture from entering under the door.
Tools and Materials Needed
To get started, gather the following tools and materials
- Weather stripping material (choose based on your door type) - Measuring tape - Scissors or utility knife - Adhesive or staples (if required) - Clean cloth - Rubbing alcohol (for surface preparation)
installing weather stripping door
Step-by-Step Installation
1. Measure the Door Use a measuring tape to determine the width and height of your door frame. This will help you buy the correct length of weather stripping.
2. Choose the Right Material Select the type of weather stripping that best suits your door type and the gaps you wish to seal.
3. Clean the Surface Wipe down the door frame with a clean cloth and rubbing alcohol. This ensures that the adhesive sticks properly and provides a long-lasting seal.
4. Cut Weather Stripping to Size Based on your measurements, cut the weather stripping material to the appropriate lengths. It’s essential to be precise to ensure a tight fit.
5. Install the Weather Stripping - For adhesive-backed foam or V-strip, peel off the backing and press it firmly against the door frame, starting at the top and working your way down. - For rubber or vinyl, follow the manufacturer's instructions for installation, which may involve stapling or using adhesive. - If using a door sweep, align it with the bottom of your door and secure it according to the instructions.
6. Test the Seal After installation, close the door and check for any remaining gaps by feeling for drafts with your hand. Adjustments may be necessary to improve the seal.
7. Regular Maintenance Periodically check the weather stripping for wear and tear, and replace it as needed to ensure optimal performance.
Conclusion
Installing weather stripping on your doors is a straightforward project that can yield significant benefits in terms of energy efficiency and comfort. By following these steps, you can create a more comfortable living space while also reducing your energy bills. When properly maintained, weather stripping can last for several years, making it a worthwhile investment for any homeowner. Get started today, and enjoy the benefits of a well-sealed home!

