Aug . 01, 2024 06:21 Back to list
Tips for Successfully Replacing Weatherstripping on Your Windshield to Ensure a Perfect Seal
Replacing Windshield Weatherstripping A Step-by-Step Guide
Maintaining your vehicle is essential for ensuring its longevity and comfort. One often-overlooked aspect of car maintenance is the windshield weatherstripping. This flexible material serves as a seal between your windshield and the vehicle frame. Over time, it can wear out, leading to leaks, increased wind noise, and even potential damage from water infiltration. Replacing your windshield weatherstripping is a manageable task that can significantly improve your driving experience. In this article, we will outline the steps to replace windshield weatherstripping effectively.
Why Replace Windshield Weatherstripping?
Before diving into the replacement process, it's essential to understand the importance of weatherstripping. It protects the interior of your vehicle from the elements, prevents rattles and wind noise, and helps maintain the structural integrity of the windshield. Old, cracked, or worn weatherstripping can lead to serious issues, including rust in the vehicle's frame and damage to the interior. Regular inspection and timely replacement can save you from costly repairs down the line.
Tools and Materials Needed
To replace your windshield weatherstripping, gather the following tools and materials
- New weatherstripping (make sure to choose the right type for your vehicle) - Clean, dry cloths - Utility knife or scissors - Adhesive remover (if necessary) - Alcohol or a suitable cleaner - Soft brush or sponge - Putty knife (optional)
Step-by-Step Replacement Process
Step 1 Remove Old Weatherstripping
Begin by carefully removing the old weatherstripping. Depending on the adhesive used, this can be as simple as peeling it off or may require some additional effort. Use a utility knife or putty knife to gently scrape away any stubborn pieces. If the weatherstripping is adhered securely, you may need to use an adhesive remover to loosen it. Ensure that the area is clean and free from debris before proceeding.
replacing windshield weatherstripping
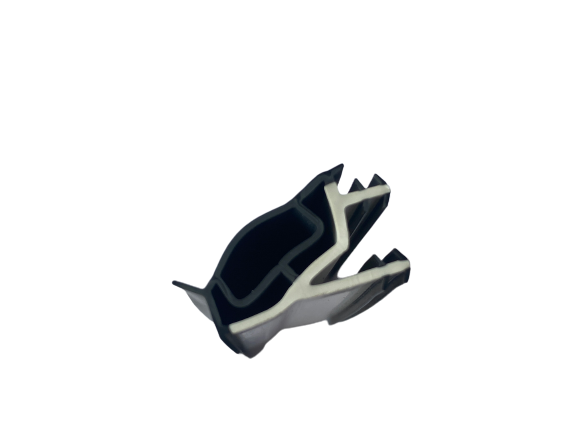
Step 2 Clean the Surface
Once the old weatherstripping is removed, clean the surface around the windshield frame. Use a cloth and some alcohol or a suitable cleaner to remove any adhesive residue and dirt. A clean surface is crucial for proper adhesion of the new weatherstripping.
Step 3 Measure and Cut New Weatherstripping
Measure the length of the windshield frame to determine how much new weatherstripping you'll need. It’s essential to cut accurately to avoid gaps or overlaps. Trim the new weatherstripping with a utility knife or scissors according to your measurements. If altering corners, ensure they fit snugly to maintain a tight seal.
Step 4 Apply the New Weatherstripping
Start applying the new weatherstripping from one corner of the windshield. Press it firmly into place, ensuring that it adheres correctly to the surface. Work your way around the frame, gradually applying pressure as you go along. If your weatherstripping has an adhesive backing, make sure to peel away any protective film as you apply it.
Step 5 Final Adjustments and Inspection
After the new weatherstripping is installed, inspect it for any gaps or areas that may need additional adhesive. Press down on the weatherstripping to ensure a tight seal. Give it time to set, following the manufacturer’s recommendations regarding curing time for adhesive, if applicable.
Conclusion
Replacing your windshield weatherstripping is a straightforward but critical maintenance task that can enhance your vehicle's comfort and durability. By following these steps, you can ensure that your car remains protected from the elements and retains its value over time. Regularly checking the weatherstripping for wear and tear will help you address any issues before they escalate into more significant problems. Maintain your vehicle with care, and it will serve you well for years to come.

