Nov . 12, 2024 04:51 Back to list
weather stripping adhesive car
Weather Stripping Adhesive for Cars A Comprehensive Guide
When it comes to maintaining the comfort and efficiency of your vehicle, one often-overlooked aspect is the weather stripping. This essential component is designed to seal gaps around doors, windows, and other openings in your car, preventing water, dirt, and noise from entering the cabin. However, over time, weather stripping can wear down, leading to issues like leaks and reduced insulation. That’s where weather stripping adhesive comes into play. In this article, we will explore the types of adhesives available, their applications, and best practices for using them effectively.
Understanding Weather Stripping
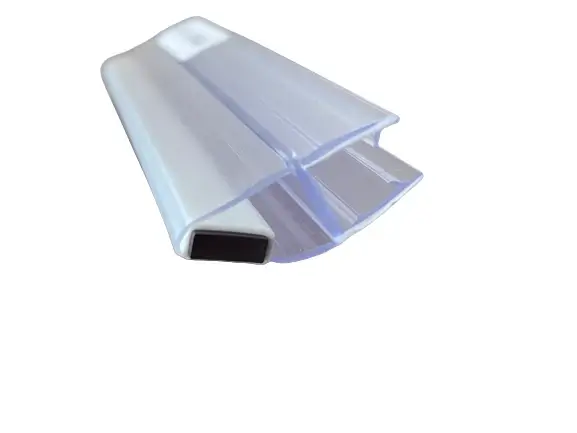
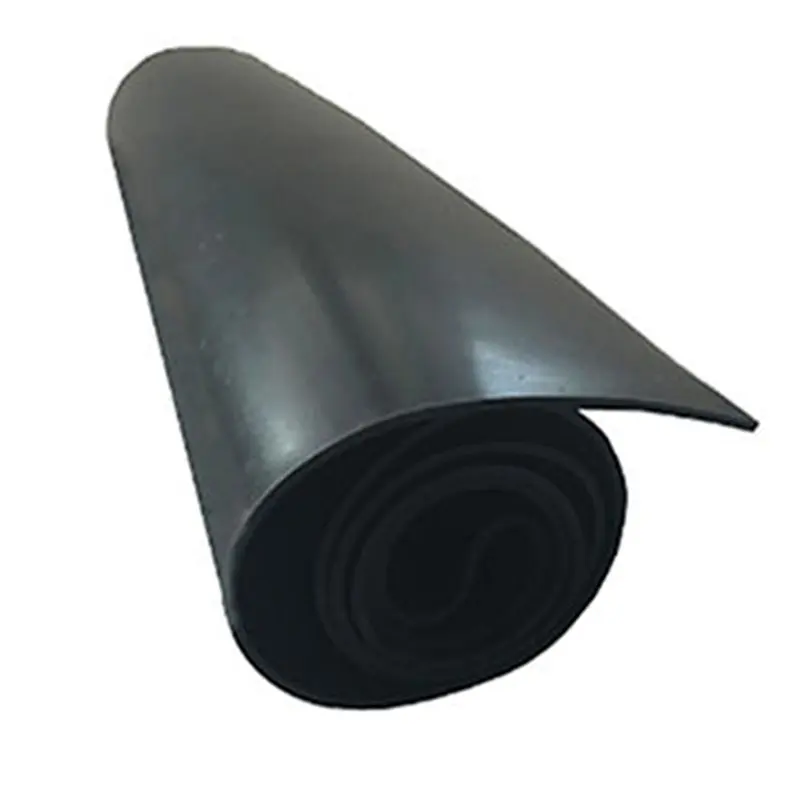
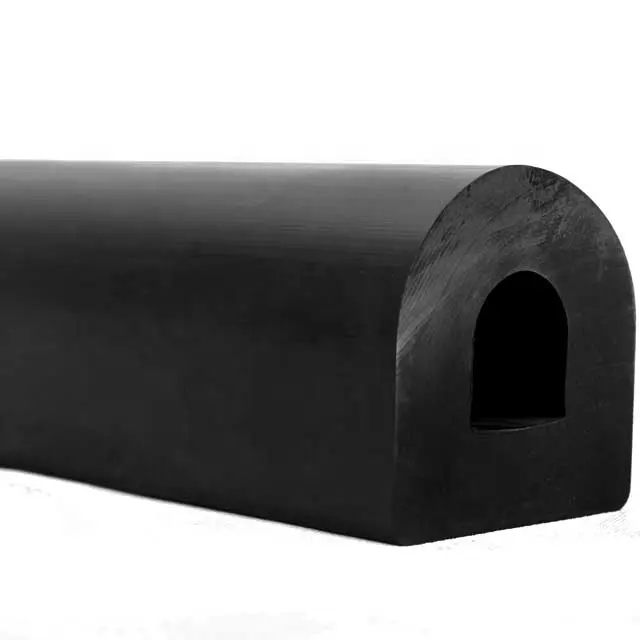
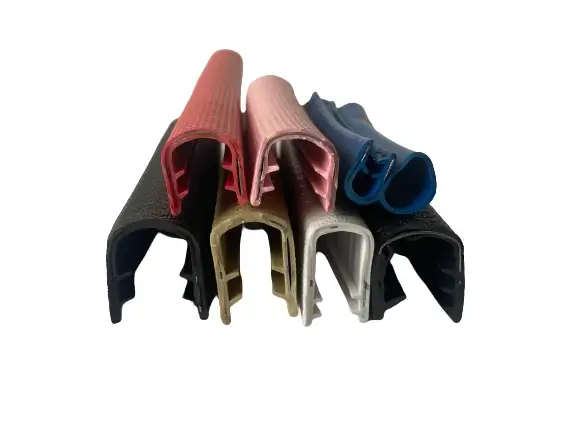
Weather stripping is typically made from rubber, foam, or vinyl materials that form a barrier against the elements. It is crucial for preventing water damage, keeping your interior clean, and enhancing the overall thermal efficiency of your vehicle. Common points where weather stripping is used include doors, trunk lids, and windows. If you notice water stains inside your car after a rain, or if you hear excessive road noise while driving, it may be time to inspect your weather stripping.
Types of Weather Stripping Adhesives
1. Contact Adhesive This is the most common type of adhesive used for weather stripping. It forms an extremely strong bond and is ideal for heavy-duty applications. The downside is that it requires precise application since once the surfaces touch, it can be very difficult to adjust.
2. Flexible Adhesive For applications where a bit of movement is expected, such as on doors that may shift, a flexible adhesive is recommended. These adhesives allow for some degree of flexibility, which helps the weather stripping stay intact even with regular use.
3. Spray Adhesive Spray adhesives provide an even coating and are easy to apply, making them popular among DIY enthusiasts. However, the bond strength can be less than that of contact adhesives, so it’s essential to select a high-quality product if you decide to go this route.
4. Strip Adhesive Specifically designed for weather stripping, these adhesives come in tape form and are easy to apply. While they offer good adhesion, they may not be suitable for all types of weather stripping materials.
weather stripping adhesive car

Applying Weather Stripping Adhesive
To ensure a successful application, follow these steps
1. Preparation Clean the surfaces where the adhesive will be applied. Remove any old adhesive residue and dirt to ensure a good bond. Alcohol wipes or solvents can be used for cleaning.
2. Choose the Right Adhesive Select the adhesive that best fits your weather stripping material and the application needs.
3. Application For contact adhesives, apply a thin layer on both surfaces and let them sit for a few minutes before pressing them together. For spray adhesives, hold the can about 6-12 inches away and spray an even layer.
4. Press and Cure After aligning the weather stripping, press it down firmly. Allow it to cure for the time specified on the adhesive instructions, which may vary from a few hours to a full day.
5. Final Check Once the adhesive has cured, check the seal by doing a water test to ensure there are no leaks.
Conclusion
In conclusion, utilizing the right weather stripping adhesive can significantly extend the life of your vehicle’s weather seals, enhancing both comfort and performance. Whether you choose contact adhesive for a permanent fix or flexible adhesive for a more adaptable solution, proper application is key to ensuring a successful outcome. Regular inspection and maintenance of your car's weather stripping will not only keep your vehicle in top shape but also provide a more enjoyable driving experience.


